Defining facility sections using 3D views in Revit
Define facility sections using views in Revit - Exercise
Task 1: Open a 3D view
Open RAC_basic_sample_project.rvt from the supplied dataset.
Open the default 3D view by using one of three methods:
In the Project Browser, under 3D Views, double-click on {3D}.
In the Quick Access Toolbar, click Default 3D View.
In the ribbon, in the View tab>Create panel, click Default 3D View.
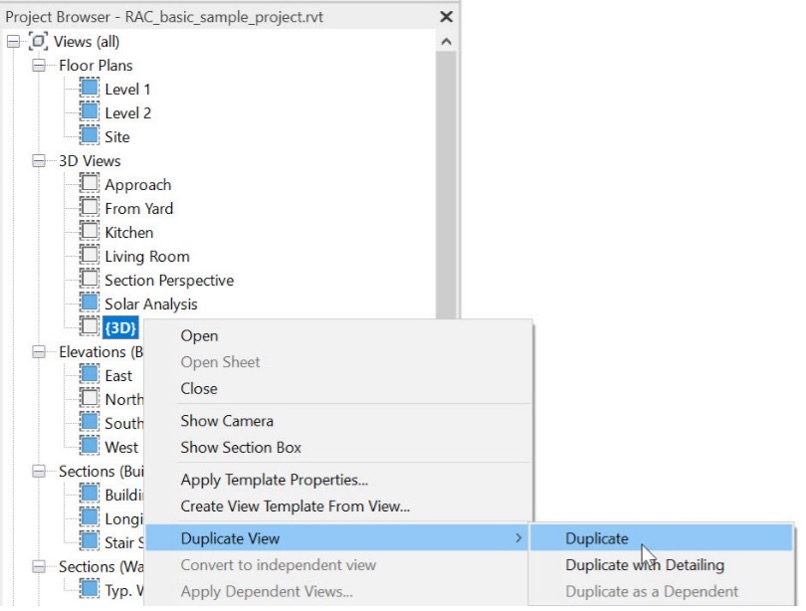
In the Project Browser, right-click on {3D} and select Duplicate View>Duplicate. A new {3D} view displays in the Project Browser with Copy 1 at the end of the name.
In the Project Browser, right-click on {3D} Copy 1 and rename it 3D- OUTSIDE VIEW.
Task 2: Create a camera view
In the Project Browser, open the Floor Plans: Site view.
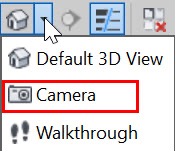
In the Quick Access Toolbar, expand the Default 3D View and select Camera.
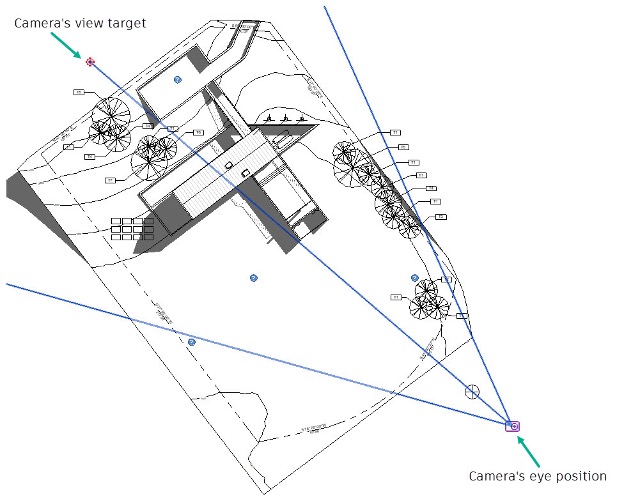
Click the lower-right side of the model for the eye position. Click at the back of the model to place the view target.
The new camera view displays. There is also a new view in the Project Browser called 3D View 1.
In Properties, in the Camera section, change the Project Mode to Orthographic.
Return to the Site view.
Start the Camera command again. In the Option Bar, uncheck Perspective.
Click the lower right side of the model for the eye position. Click at the back of the model to place the view target. The orthographic camera view displays.
Rotate the view by holding down both <Shift> and your mouse wheel button. Move your mouse around to rotate the orthographic view.
Return to the Site view.
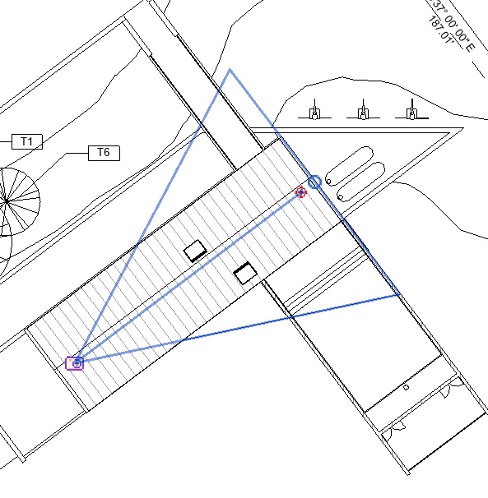
Start the Camera command again. In the Option Bar, verify Perspective is checked.
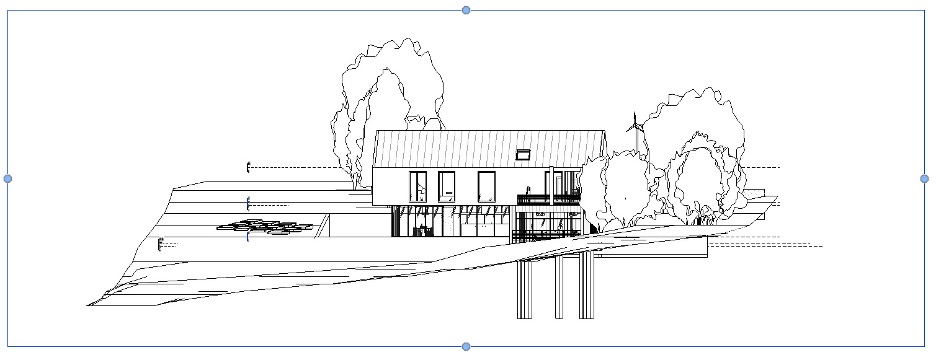
Click on the left side of the building for the eye position. Click at the back of the building to place the view target. The perspective view displays.
Modify what you see in the perspective view by dragging the controls out to widen the camera and rotate in the view.
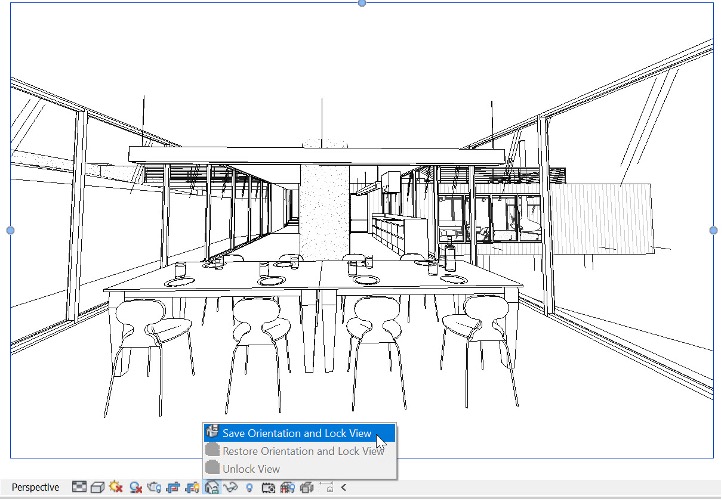
Lock the perspective view from the View Control Bar by expanding Unlocked 3D View and selecting Save Orientation and Lock View.