Advanced structural families

Create family geometry - Exercise

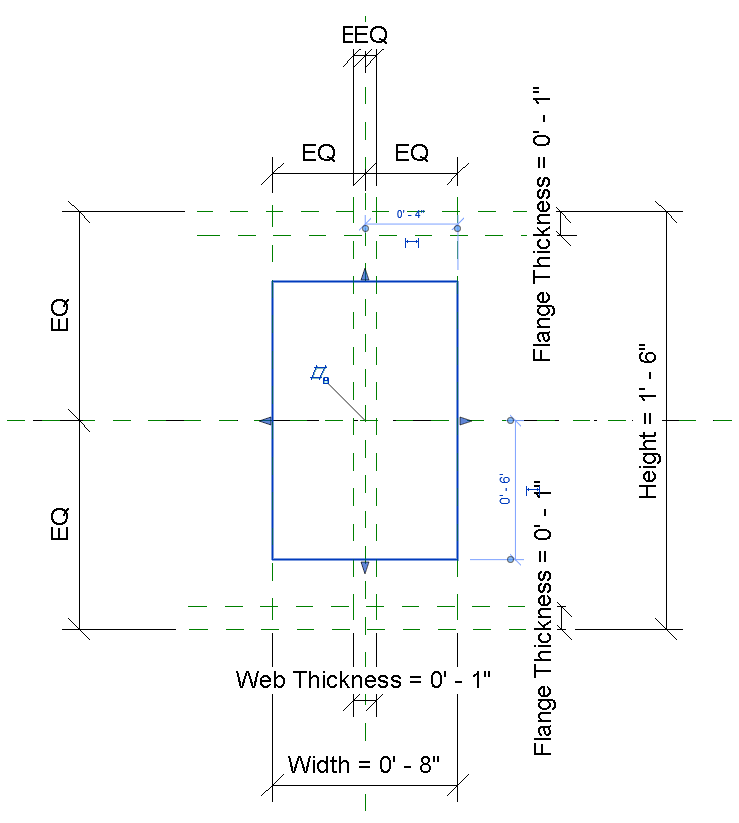
  1. If you are not already, go to the West elevation view and select the rectangular extrusion.

  2. On the modify tab of the ribbon, Mode panel, click Edit extrusion.
  3. Select and delete the existing rectangle.
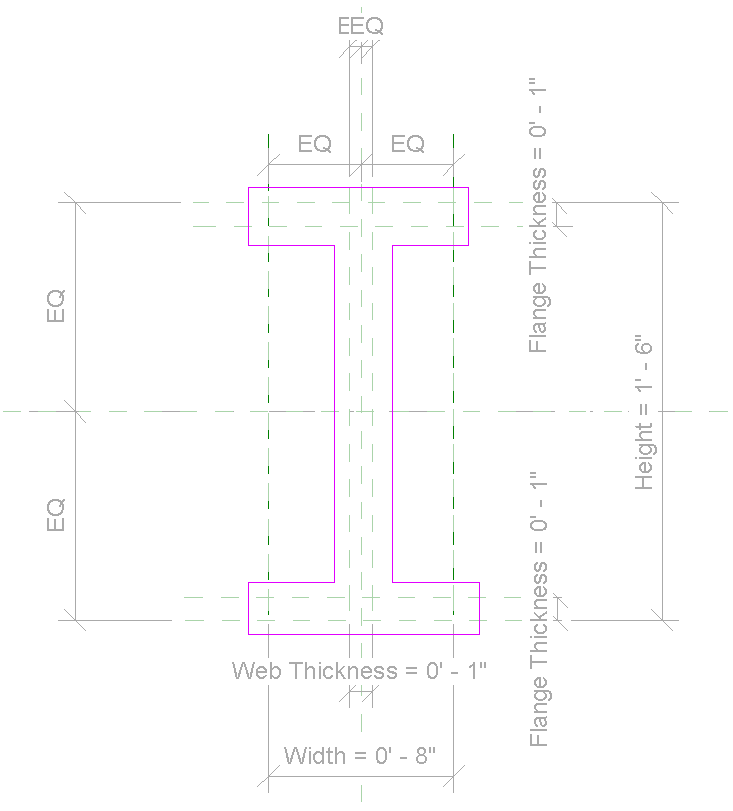
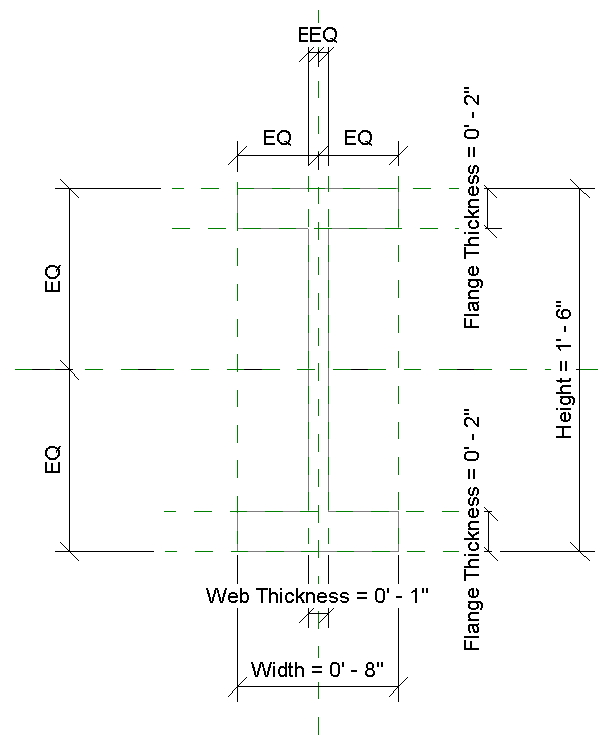
  4. On the Draw panel, select line. Draw an I beam shape, like below. Do not draw the lines over the reference planes. In the next step, we will lock the geometry to the references.

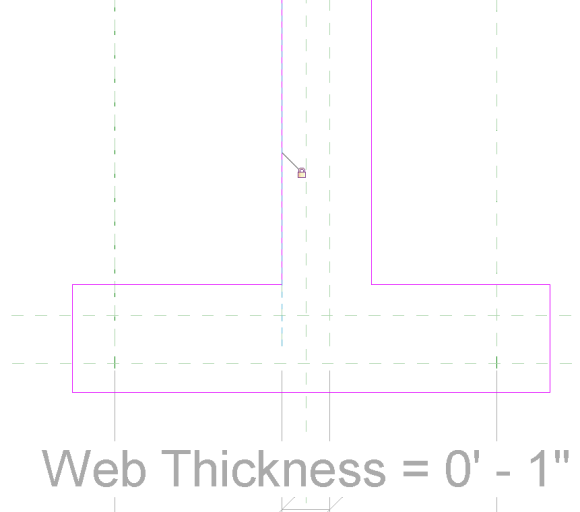
  5. On the Modify panel, select Align. Select a reference, then an adjacent line to align it, clicking the padlock each time to constrain them together.

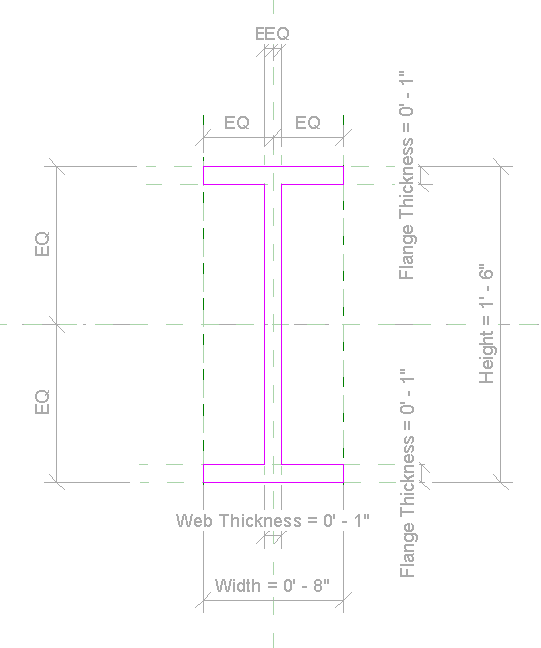
  6. Continue until all lines have been locked.

  7. Click the green tick on the Modify panel to complete the extrusion.

  8. Try changing the value of one of the parameters and check that the extrusion updates correctly.

  9. If the geometry does not update as expected, select the extrusion, click Edit, and check that you aligned everything correctly.
  10. You have now created a structural beam which you can load into a project and use.
  11. Click File > Save.
Was this information helpful?