Creating ceiling plan views using a view template - Exercise
In this practice, you will create a lighting plan that shows just the lights and switches and displays the ceiling. You will do this by setting up a new Reflected Ceiling Plan view that uses a new view template. This new view type can then be applied to multiple views, speeding up the process of creating Lighting Plans.
- Open the Small Medical Center-Ceiling Plan.rvt project in the Ground Floor Electrical Plan view. You can see that there are lights, outlets, and switches showing in this view. The light fixture tags are set to show the electrical circuits.
- In the View tab, expand Plan Views, and select Reflected Ceiling Plan.
- In the New RCP dialog box, in the Type area click Edit Type….
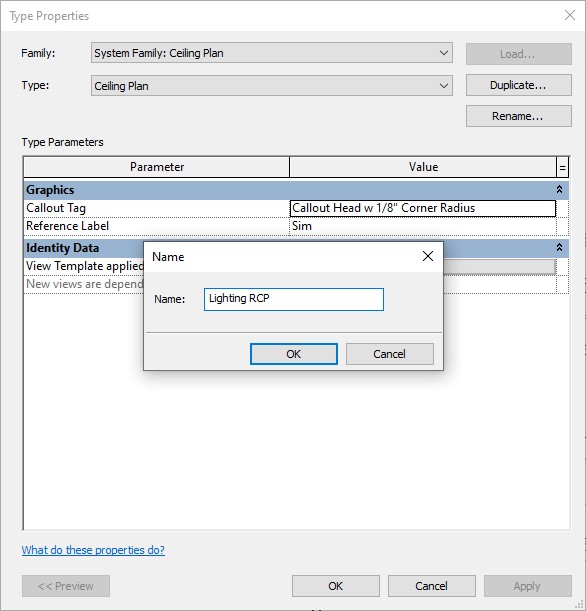
- In the Type Properties dialog box, click Duplicate… and name the new ceiling plan Lighting RCP, as shown below, and click OK.
- In the Identity Data area, click the button next to View Template applied to new views.
- In the Assign View Template dialog box, select Electrical Ceiling and click Duplicate. Name the new view Lighting Ceiling, as shown below, and click OK.

- Click OK until you return to the New RCP dialog box.
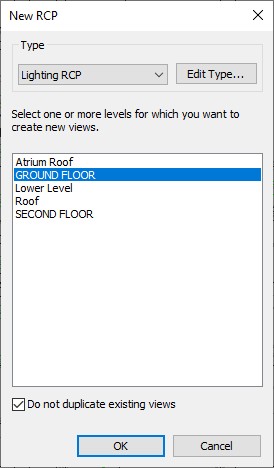
- Select GROUND FLOOR, as shown below, and click OK.
- The new view displays as shown below.
- In the View tab > Graphics panel, expand View Templates and select Manage View Templates.
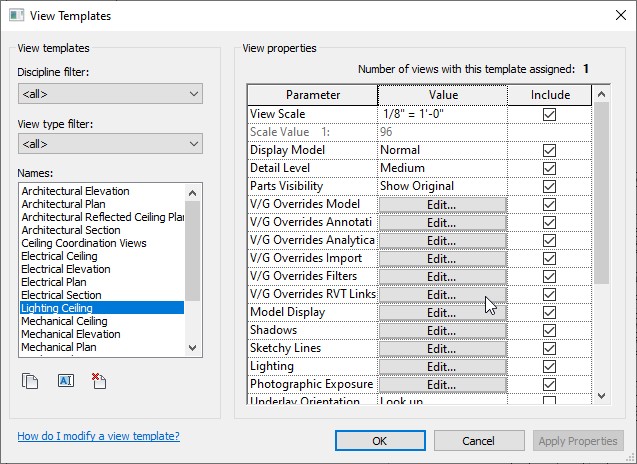
- Select the new Lighting Ceiling template from the list, as shown below.
- Click Edit… beside V/G Overrides RVT Links.
- Clear the check from the Visibility column for Small Medical Center_S- 2021.rvt, as shown below. The Structural link does not need to display in this view.
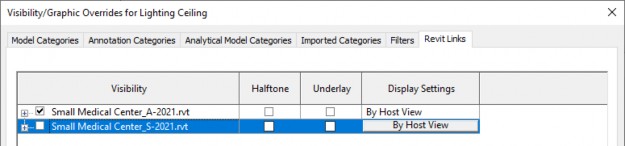
- Beside Small Medical Center_A-2021.rvt, in the Display Settings column click By Host View.
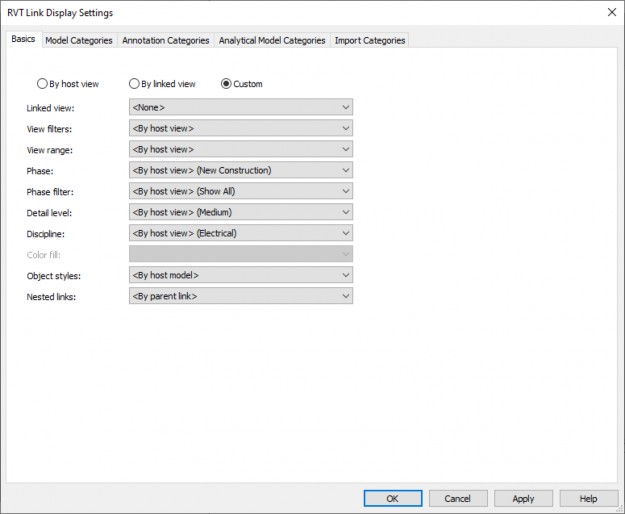
- In the RVT Link Display Settings dialog box, on the Basics tab, click Custom, as shown below.
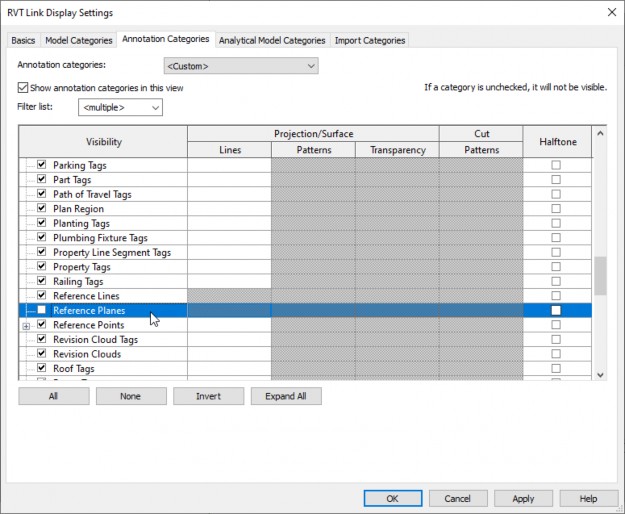
- In the Annotation Categories tab, beside Annotation categories, select <Custom>.
- Clear the check from the Reference Plane category, as shown below.
- Click OK three times to display the view. The view is cleaned up, as shown below.
- Return to Manage View Templates.
- Select Lighting Ceiling.
- In the V/G Overrides Model row, click Edit… and turn off Electrical Devices and click OK.
- Scroll down and click View Range Edit….
- Change the Top to Associated Level with an Offset of 10'-0".
- Change the Cut Plane to 4'-0".
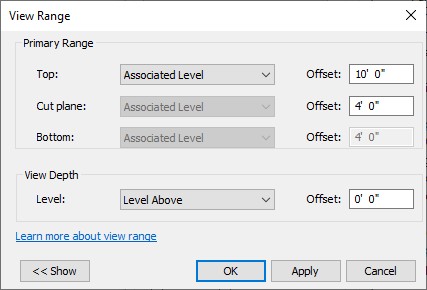
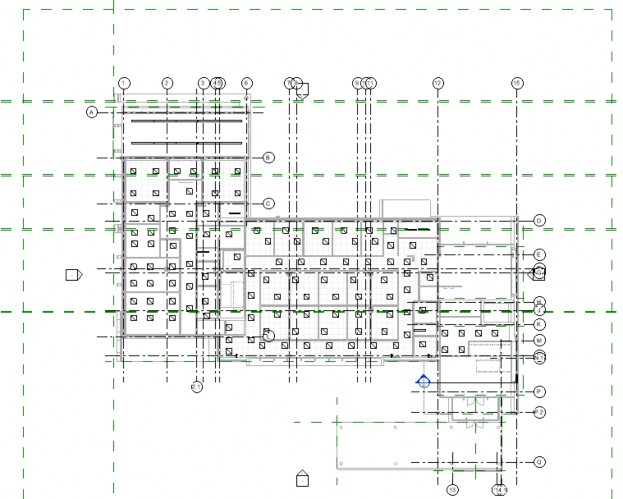
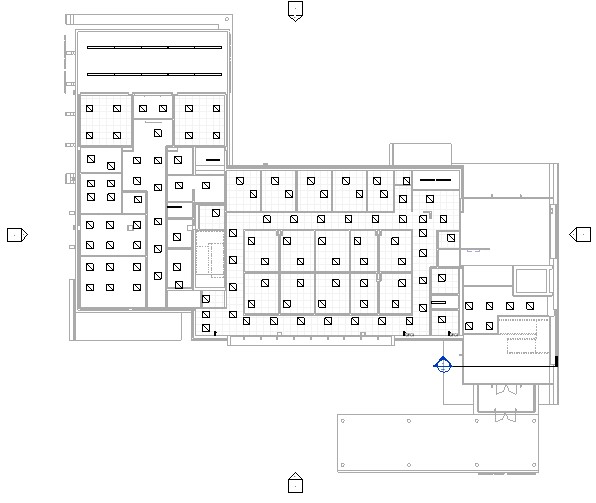
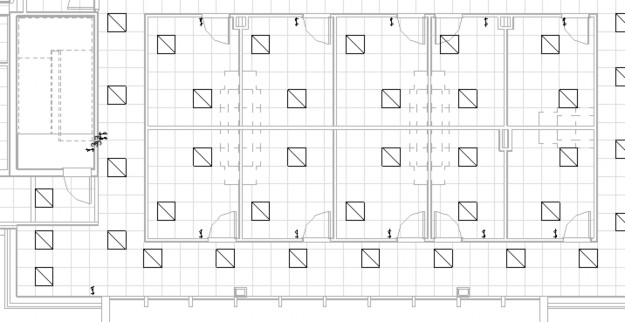
- Click OK to finish the process. You should now see the door swings, switches, and the outlines of the casework – all elements that will help you with the final placement of the lights, as shown below.
- In the View tab > Create panel, expand Plan Views and select Reflected Ceiling Plan.
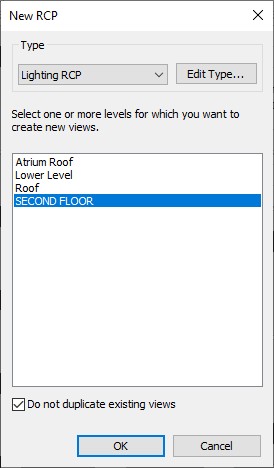
- In the New RCP dialog box, notice that the type is set to Lighting RCP.
- Select SECOND FLOOR, as shown below, and click OK.
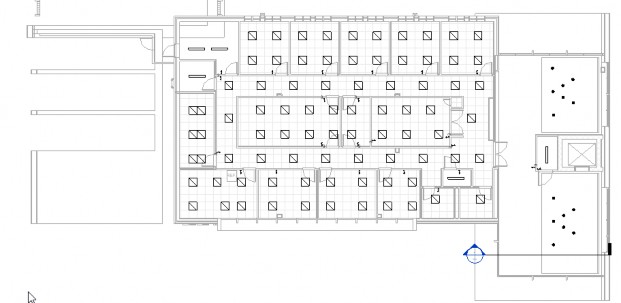
- The view is created using the view template without having to step through the whole process again, as shown below.
- Save the project.


