00:05
In big projects, sometimes you will need to change the path locations, to change the name and so on.
00:11
And if you are working on a complex project, that can become a big challenge.
00:17
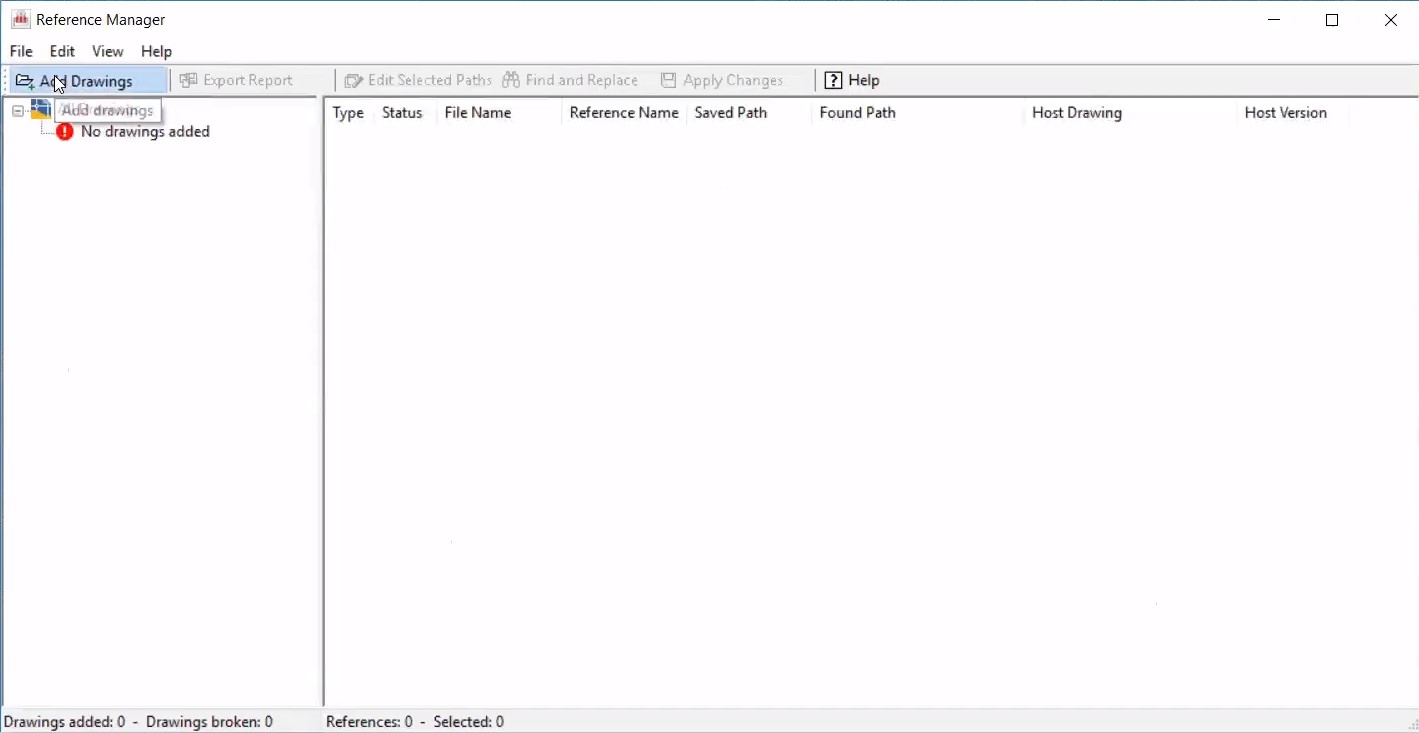
So, one tool I advise for you is to use a reference manager.
00:22
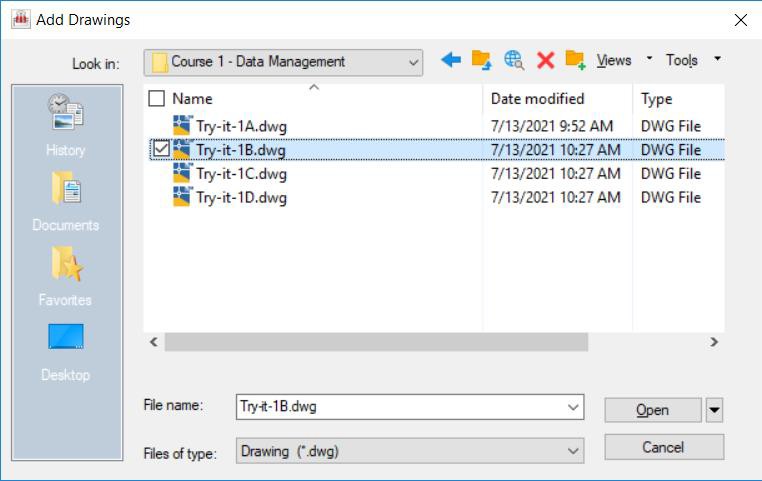
So, see I click here, I go to my reference manager, I select the file I want.
00:28
For example, I take this One.
00:31
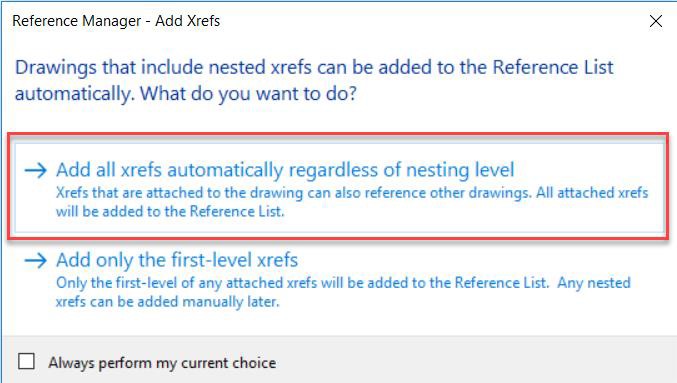
I add, obviously all the external references.
00:34
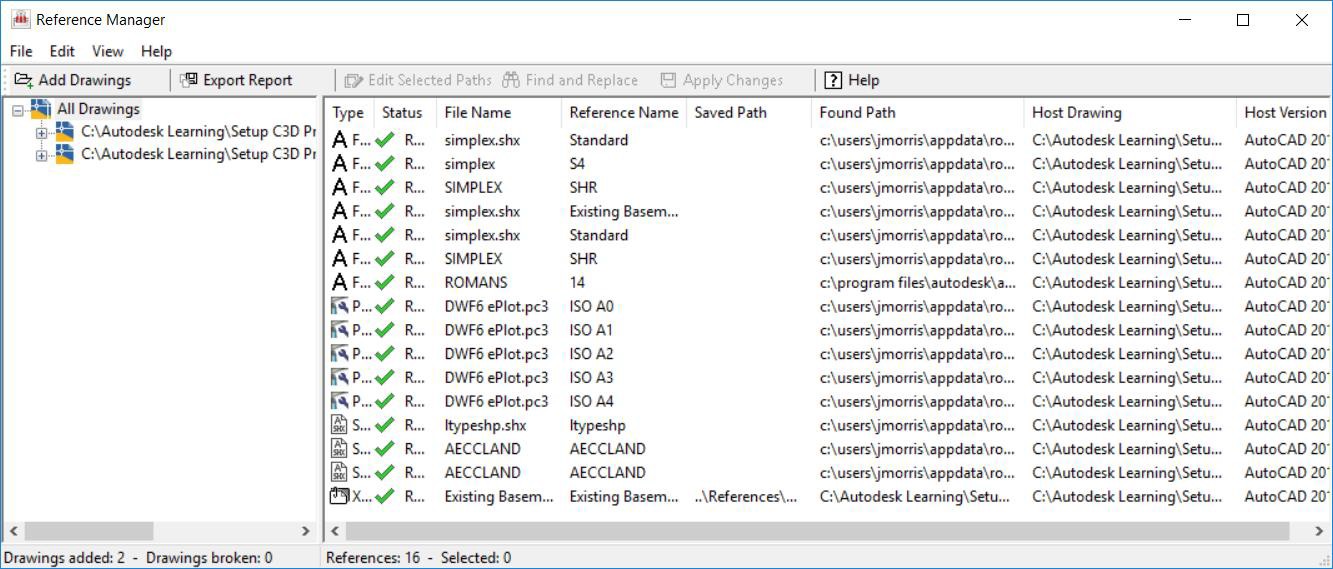
And here I see all the different resources that my file is using.
00:38
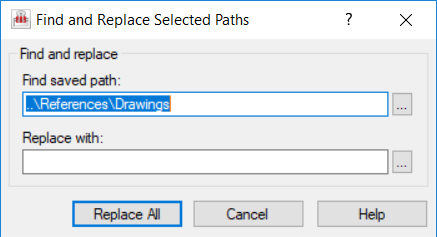
And here for example, I can say, okay, find and replace, the path location.
00:43
This is an easy way for you if you just change the location of your file, to repoint as a right location, the external references.