00:07
PRESENTER: Now that we've seen Revit will assign numbers
00:09
and locations to reinforcing, let's
00:12
take a look at how that information is annotated
00:14
that we folks know what they're bidding on and ultimately
00:18
The objective of this video is to start
00:19
thinking about how we can automatically and manually tag
00:23
our Rebar, and jump into Revit.
00:26
I'm going to open my Medical Center parking garage 02.
00:30
Or if you had the old model open, you can just keep going.
00:34
You can use any model you want.
00:37
So now go down to level three this time, got plenty of levels
00:41
Select your slab right here.
00:45
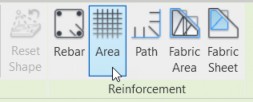
Notice and reinforcement, we can click area.
00:48
Go ahead and click that.
00:51
For the partition, let's change that to level 3 slab,
00:57
and we'll keep the default for our layout rule, our layers,
01:05
On the draw panel, click the pick lines button right here.
01:12
Hover over this top line, hit your Tab key twice.
01:18
Once you've tabbed down to it twice, pick it.
01:22
Noticed that it's going to select all of our edges.
01:27
Hit escape a couple of times.
01:32
Let's click our finish edit mode button.
01:37
OK, hit Escape a few times again.
01:40
Take a look at a couple of things.
01:41
One thing it did is it automatically
01:43
tag the entire area reinforcement.
01:47
Let's Zoom in on this tag.
01:49
It says number four at one foot top each way.
01:54
That was the default for our area reinforcing.
01:57
Go ahead and select that tag.
02:02
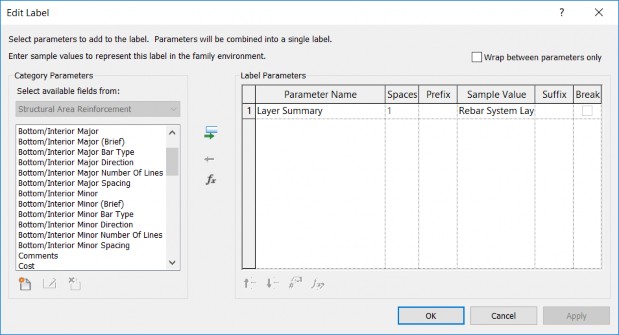
Click Edit family, Rebar System Layer Summary.
02:08
This is simply a tag that we use to annotate our reinforcing.
02:12
Used to be, you had to type that in.
02:14
We don't do that anymore.
02:15
Click on this Rebar system layer summary tag and click Edit
02:20
label, and it's essentially a parameter layer summary.
02:31
We can close out of this file by clicking the X right here.
02:34
I don't want to do anything with it.
02:35
I just wanted to show you how it works.
02:37
Now, don't save any changes to it.
02:40
Let's go to this section over here.
02:43
Let's Zoom in on level 3, so reinforcing is very thin.
02:49
Let's go up to level 3.
02:51
I'm going to come over this way, and I'm
02:53
going to add another section.
02:54
So let's click on the section button.
02:58
We'll put a section right through here.
03:03
Hit escape a few times, let's open that section up.
03:13
Notice that we have our Rebar on level 3.
03:15
What I want to do this time though
03:17
is I want to select this crop region.
03:20
I wanna drag this down.
03:23
I want to drag this up.
03:27
This time, I want to make the entire scale
03:35
Let's set the detail level to fine.
03:42
Now we have some Rebar.
03:43
Let's make a new generic tag.
03:47
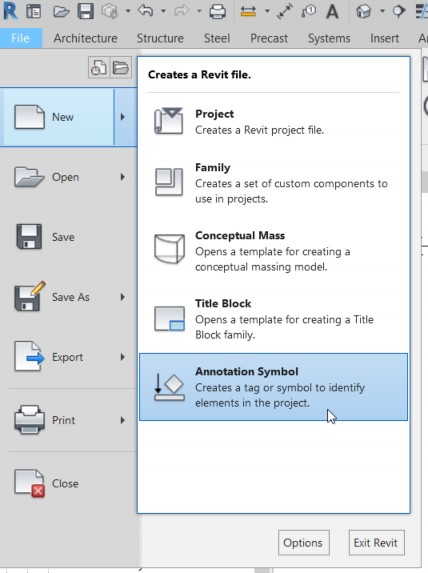
So if you go to the File tab, let's go now new,
03:53
let's go to annotation symbol.
03:55
You may or may not be in the directory I am in, so click
03:59
here and look in dropdown.
04:02
I'm going to go to my English imperial.
04:05
But if you go to family templates,
04:07
you can choose whatever region.
04:10
You can choose whatever region you're in.
04:12
I'll go English imperial.
04:16
I go to annotations.
04:19
I'm going to grab generic tag, then I'll click OK.
04:28
The first thing you want to do is get rid of this note.
04:34
Select it, hit delete.
04:39
Now, next thing we do is we go to family category
04:45
I want to scroll on to structural Rebar tags.
04:50
I don't want to rotate this with the component.
04:56
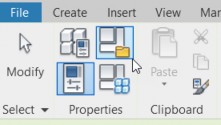
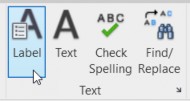
Now that we've done that, go to the Create tab.
05:00
Click the label icon, and we'll line center.
05:08
Pick a spot right on the bull's eye.
05:14
Now that we selected structural Rebar tags
05:16
as our family category and parameters,
05:18
noticed that all of our available fields
05:22
are going to be dealing with structural reinforcing.
05:27
I want to scroll down till I find Rebar number.
05:35
Then I want to find partition.
05:38
Click partition, and then click the little green add button.
05:43
I'm OK if these are on the same line.
05:45
As a matter of fact for my suffix,
05:46
I'm going to type in a space, a hyphen, and a space.
05:50
So the Rebar space partition.
05:58
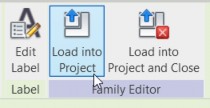
Hit the Save button.
06:00
I call it my Rebar tag, and click Save.
06:09
Going to load that into my project.
06:13
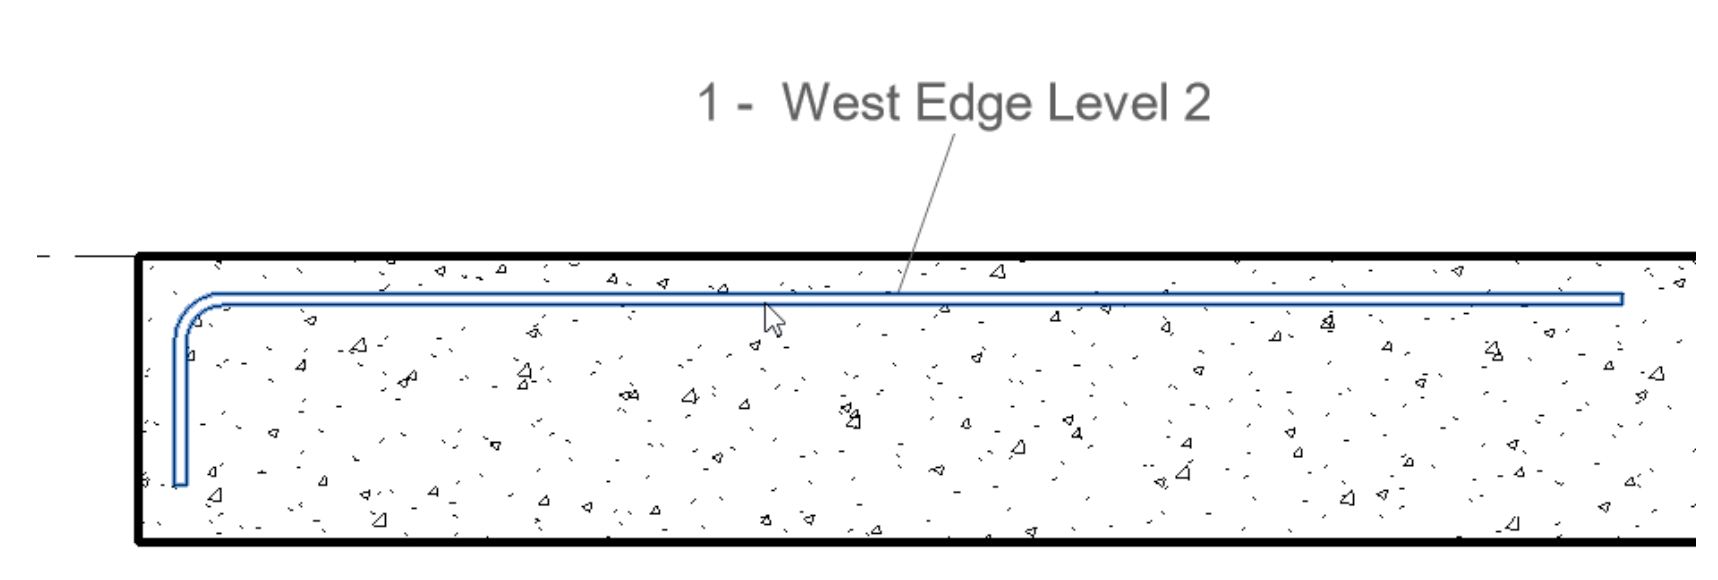
Let we go to this section right here.
06:18
Notice that tag is already selected.
06:23
So if I hover over this reinforcing, check it out,
06:27
Instead of attached end, I'm going to select free hand.
06:34
I'm going to pick a spot like right
06:36
about here, to here, to here.
06:41
So it's number 47 level 3 slab.
06:45
So there you go, no dumb text here.
06:47
Everything we are doing is smart.