Adding rebar shapes

Add rebar shapes - Exercise

Let us go ahead and add some reinforcing shapes to our model.

  1. Open Revit then the file STRUCTURAL.RVT (or open any Revit project you are working in).
  2. Open the Section 13.
  3. Select the column and click the Rebar button.
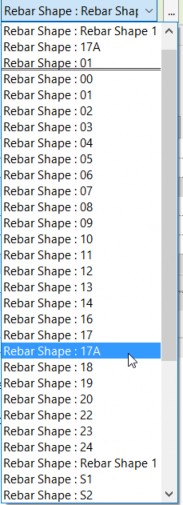
  4. Notice that a rebar browser appears to the right. This is simply a visual to see the actual rebar shapes in our model. Notice that even that weird rebar shape is stored here.

  5. Now focus your attention to the upper left of the Options toolbar. You will see a menu with a show dialog button. This is the same menu as the browser to the right. The Browse dialog simply turns on and off the Rebar Shape Browser.

  6. Hit ESC.
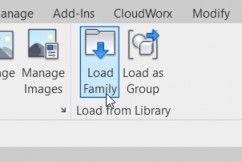
  7. In the Insert tab, go to the Load from Library panel.
  8. Click the Load Family button.

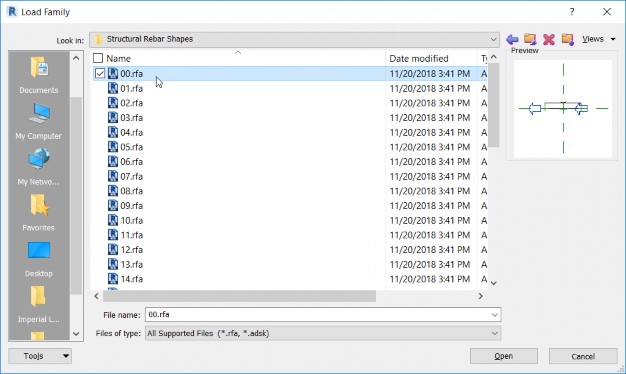
  9. Browse to the Structural Rebar Shapes folder. Notice all the types are stored here, as well.

  10. Hit Cancel.
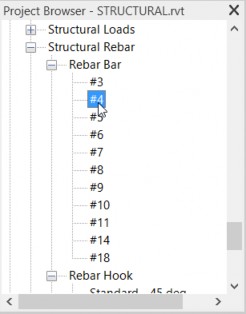
  11. In the Project Browser, scroll down until you see Structural Rebar, then go to Rebar Bar. These are the actual rebar sizes that you can chose from.

Was this information helpful?