Setting up project for geospatial coordinate systems
Set up coordinate systems in Civil 3D and Revit - Exercise
Task 1: Setting a coordinate system in Civil 3D
- Open Civil 3D and start a new drawing with _Autodesk Civil 3D (Imperial) NCS.dwt.
- Navigate to the Settings Tab on the TOOLSPACE Tool Palette.
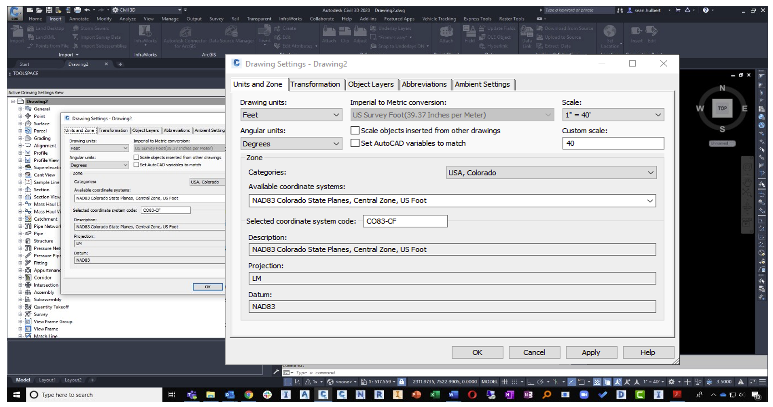
- Right-click on the drawing name and select Edit Drawing Settings.
- On the Units and Zones Tab, type CO83-CF in the Selected coordinate system code box. Select OK.
- Navigate to the Insert tab on the Ribbon and select LandXML.
- Navigate to your data set and select EG_SRF.XML, accept defaults and select OK.

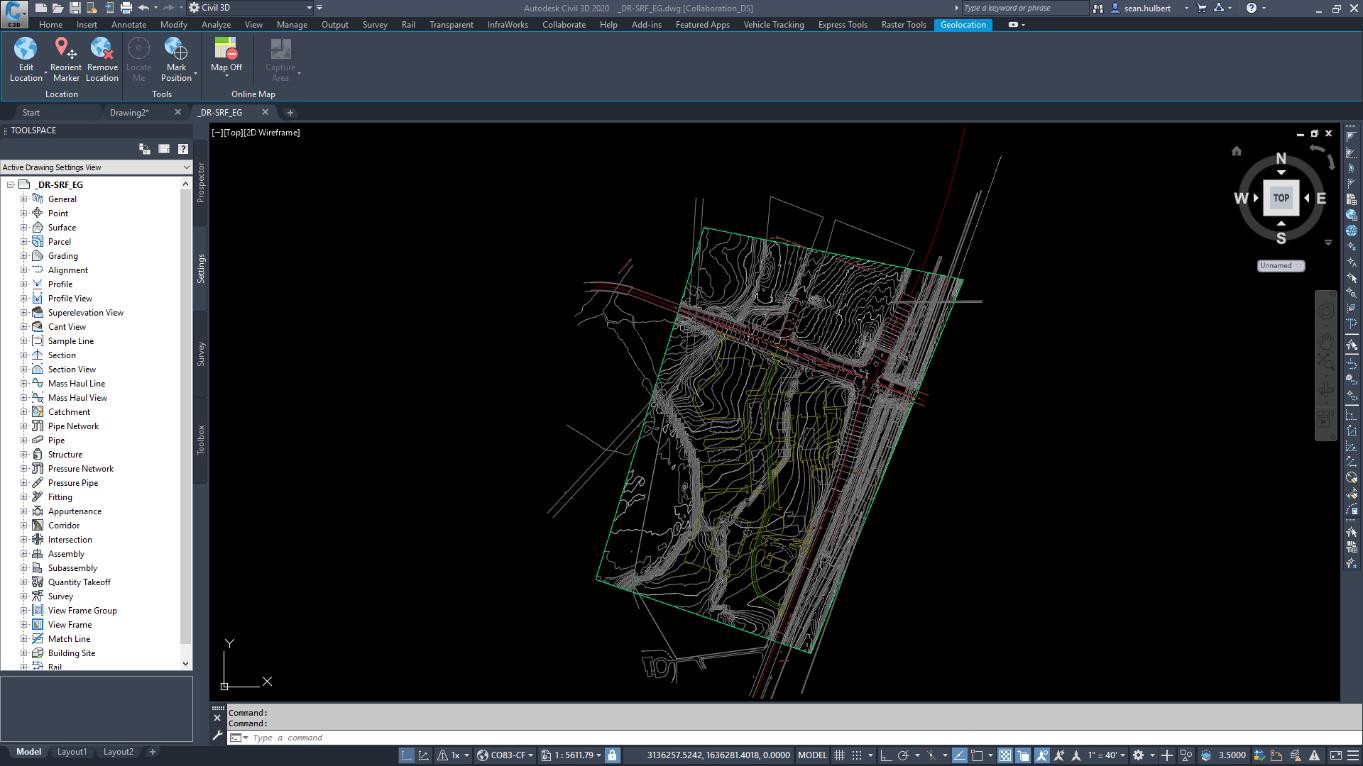
- Save drawing as _DR-SRF_EG.dwg.
- Navigate to the Geolocation Tab on the Ribbon and Display Online Map.
- Open Xref Dialog and overlay _XR-SitePlan.dwg.
Task 2: Setting the shared coordinate system in Revit
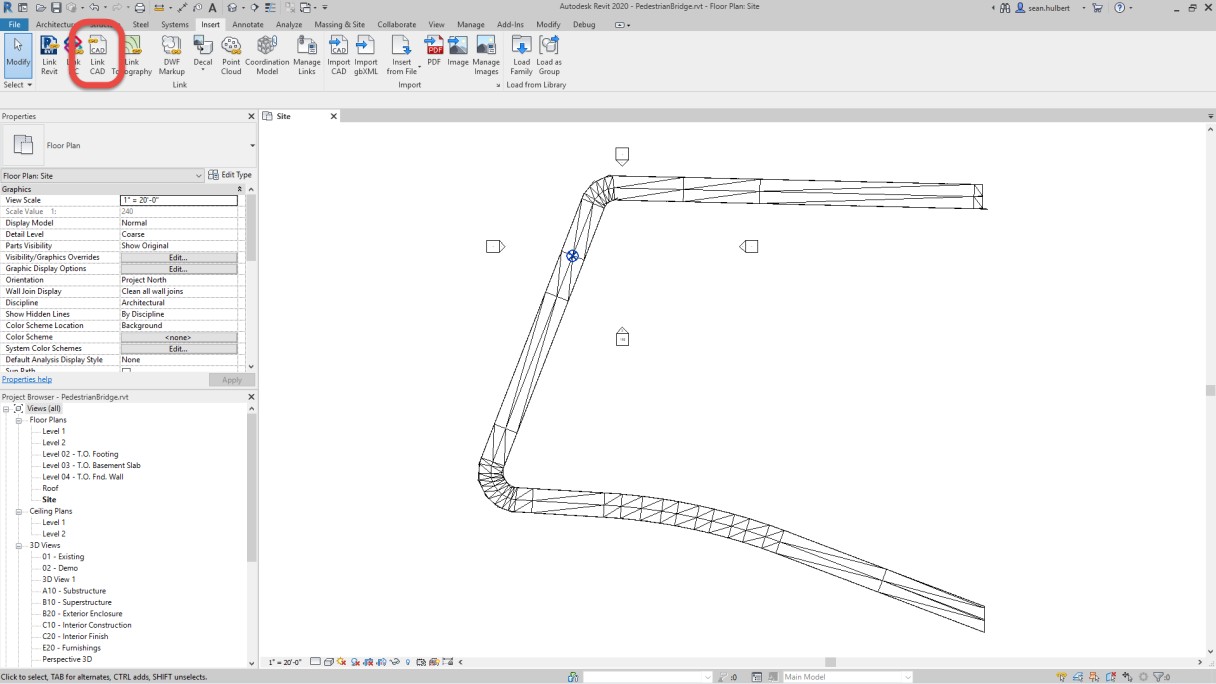
- Open PedestrianBridge.RVT in Revit.
- Navigate to the Insert tab on the Ribbon.
- Select Link CAD.
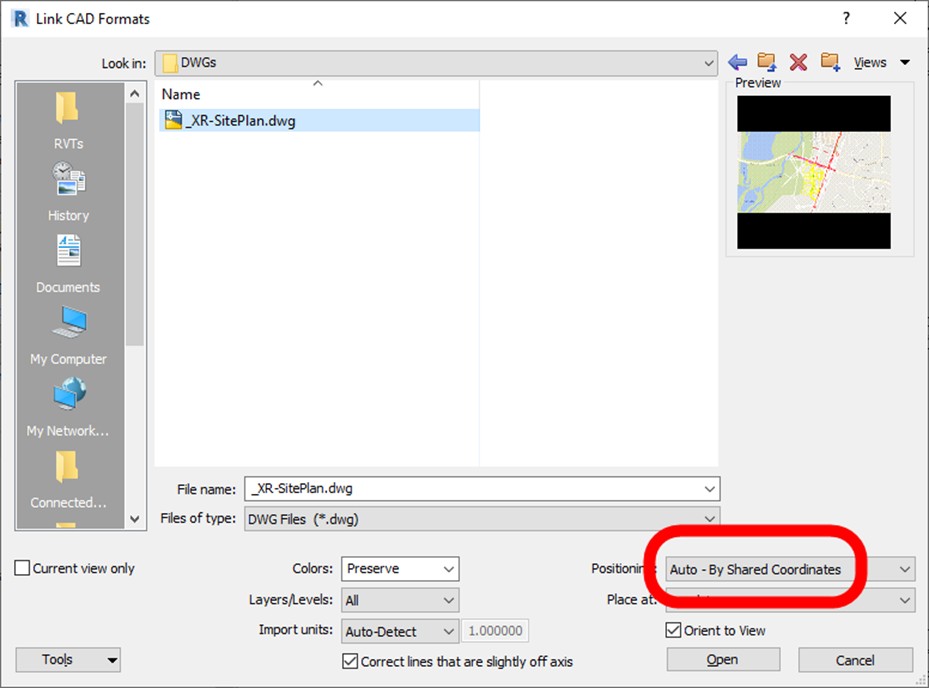
- Select _XR-SitePlan.dwg.
- For Positioning: Auto – By Shared Coordinates.
- Zoom extent to display the entire site plan.
Was this information helpful?


