Render a view - Exercise
Rendering is actually the easiest part. Once the view is created, the materials are assigned, and the lighting is in place, you’re just a click away! But there are other things to consider too.
To render a scene, follow these steps:
- Open Revit.
- Open the Small Medical Center.rvt model from your project files. If you did not complete the previous exercise, open Small Medical Center-Render.rvt instead.
- In the Project Browser, select the SECOND FLOOR BREAKROOM 3D view to make it the current view if not already active.
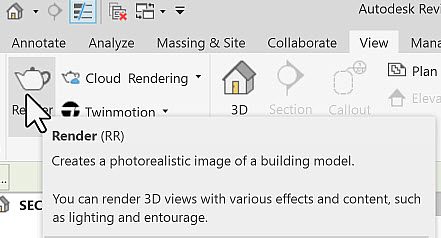
- In the View tab>Presentation panel, click Render. You can also open the Rendering dialog box by clicking the Show Rendering Dialog icon in the View Control bar or typing RR.
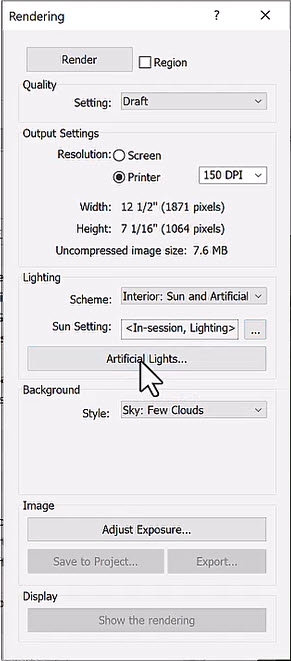
- In the Rendering dialog box, change the following as shown:
- Quality Setting: Draft
- Resolution: Printer / 150 DPI
- Lighting Scheme: Interior: Sun and Artificial
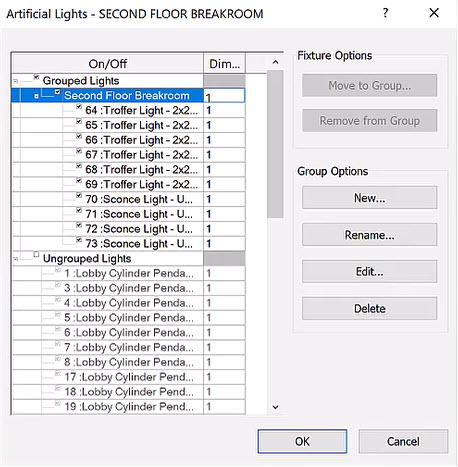
- Click Artificial Lights….
- In the Artificial Lights dialog box, select the checkbox for Second Floor Breakroom and uncheck the checkbox for Ungrouped Lights. Click OK.
- In the Rendering dialog box, click Adjust Exposure….
- In the Exposure Control dialog box, change the Exposure Value to approximately 7.5 and click OK.

- At the top of the Rendering dialog box, click Render.
- Ignore any warning you may get about missing materials.
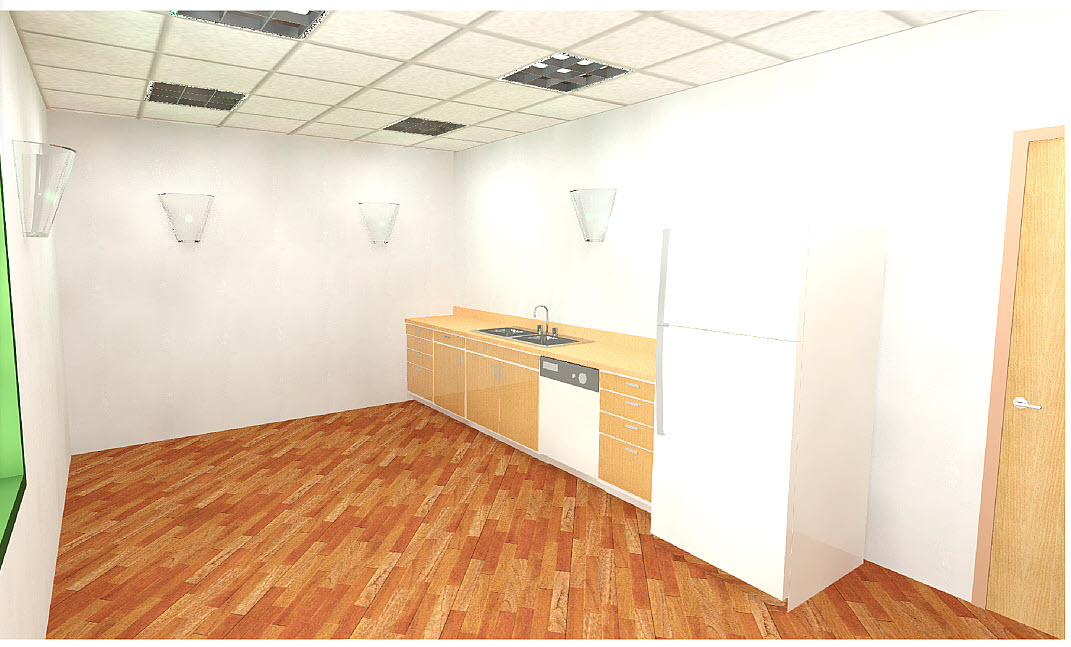
- When complete, your rendering should look similar to the one shown below.
- In the Rendering dialog box, click Adjust Exposure….
- In the Exposure Control dialog box, adjust the settings so the image is how you want it.
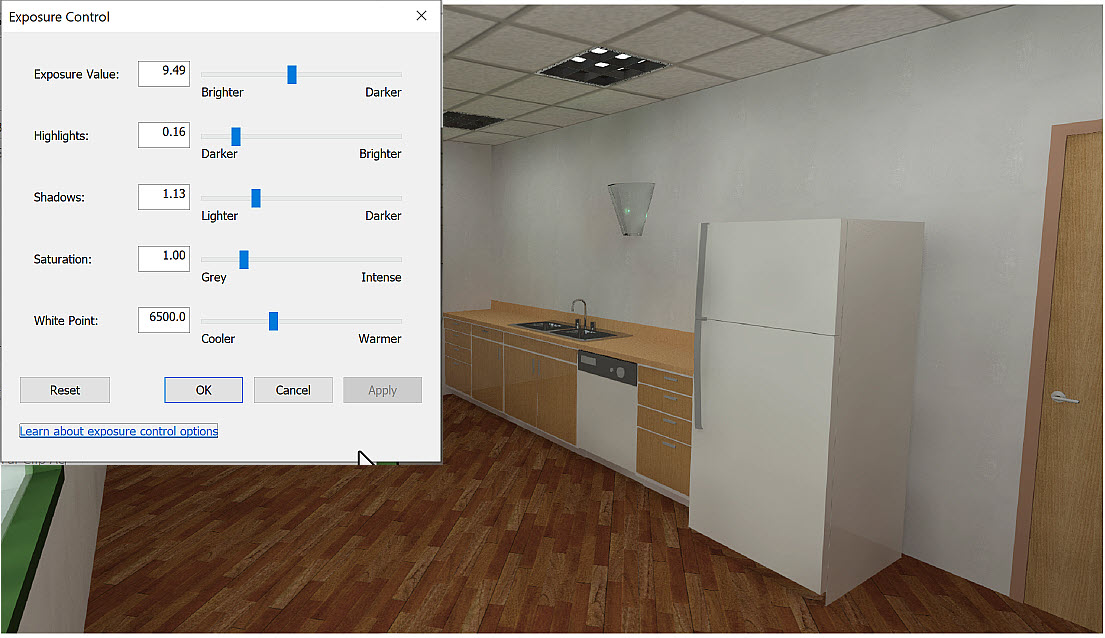
- Click OK.
- In the Rendering dialog box, change the following:
- Quality Settings: High
- Resolution: Printer / 300 DPI
- Click Render. Ignore any warning you may get about missing materials.
- Click Save to Project. Keep the default name.
- Click Export. Save the render as a JPEG, keep the default name, and make a Renderings folder in your project folder to save it in.
- Save the model.


