Downloading the BIM 360 Mobile App and understanding the interface - Exercise
Important prerequisite
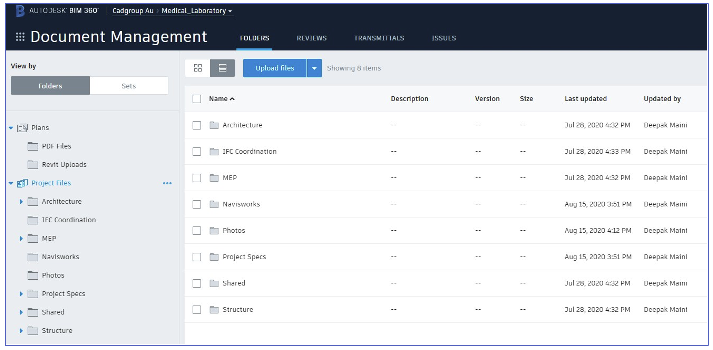
It is presumed that you have completed the content series Set up BIM 360 for better project coordination using the cloud, and understand how to set up a BIM 360 Design Project. Based on that understanding, you will have to set up a multi-disciplinary BIM 360 Design Project and initiate Cloud Worksharing using the Revit files provided to you. You will also create an additional folder in the Plans and Project Files area using the files provided to you. The following is how the hierarchy of the BIM 360 Design project should look like:
Task 1: Downloading the BIM 360 Mobile App
- On the iOS device, open the App Store. If you are using the Android device, open the Google Play store.
- Search for BIM 360 and download the app.
Tip: There are other BIM 360 apps, such as BIM 360 Team, BIM 360 Glue, and so on. Do not download those apps.
Task 2: Signing into the app
- Tap on the BIM 360 app to open it.
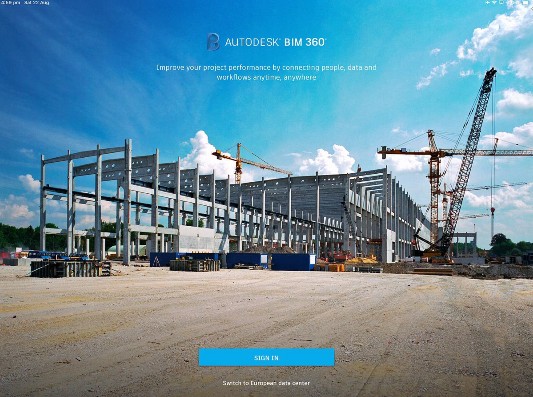
- On the Sign in page shown below, tap on SIGN IN and sign in using your Autodesk BIM 360 credentials.
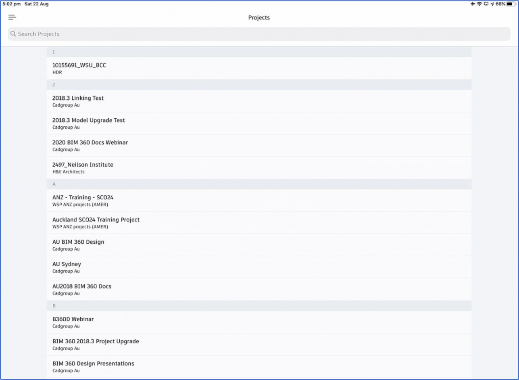
Once signed in, you are taken to the Projects area, as shown in the figure below.
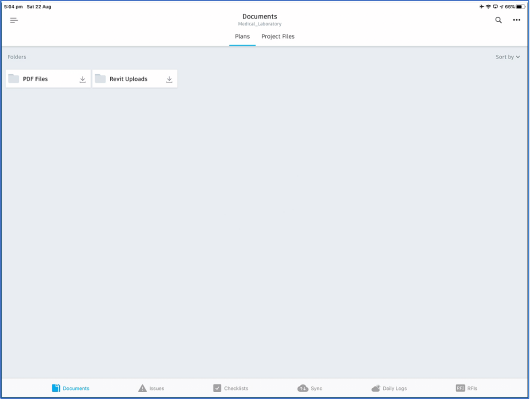
- Tap on your project to activate it. The figure below shows the project interface after activating the Medical_Laboratory project.
Task 3: Navigating through the folders
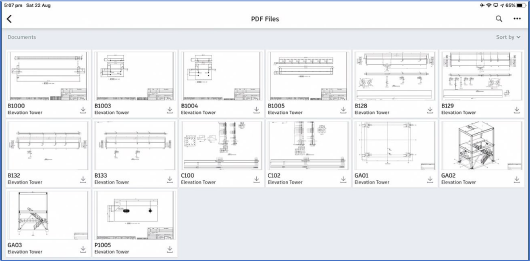
- Tap on the PDF Files folder in the Plans area to review the PDF sheets in this area, as shown in the figure below.
- Tap on the arrow on the top left to go back.
- Tap on the Revit Uploads folder to review the content of that folder.
- Similarly, tap on the Project Files area to review the content of this area.
Task 4: Download the content of a folder for offline viewing
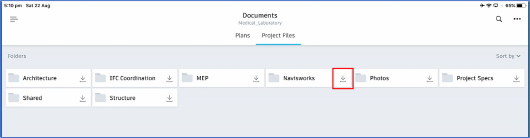
- Go to the Project Files area.
- Tap on the down arrow on the right of the Navisworks folder name, as shown in the figure below. The content of this folder will start to download for offline viewing.
Once the content is downloaded, a Blue tick mark will be displayed on this folder, as shown in the figure below.
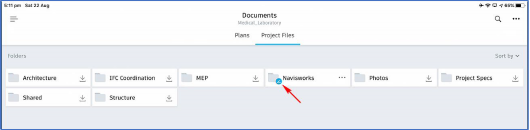
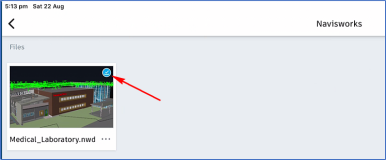
- Tap on the Navisworks folder and notice the Blue tick mark on the NWD file indicating that this file is downloaded for offline viewing.
Task 5: Navigating around the model
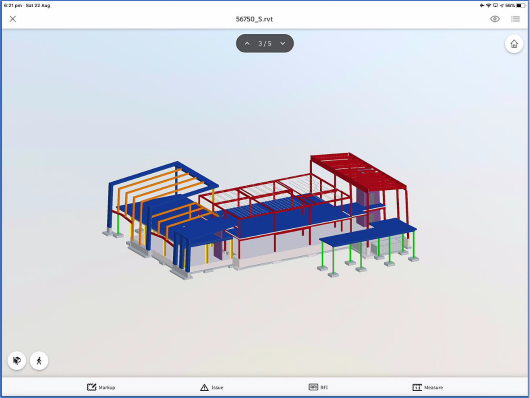
- From the Project Files > Shared > Structure folder, tap on the Revit file to open it; the model appears as shown in the following figure.
- Tab on the Menu button on the top right to display the options, as shown in the following figure:
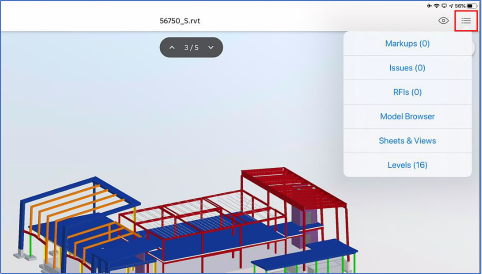
- Tap on Sheets & Views and open any of the sheets.
- Similarly, open other views and sheets and review their content.
- On the top left, click the X to exit the model view.
- On the top left again, click on the < button to go back to the Project Files area.
Task 6: Changing the project
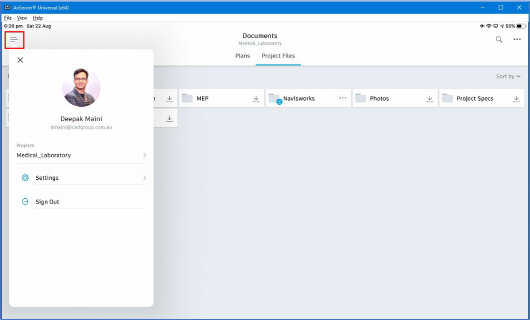
- In the Project Files area, tap on the Menu button on the top left to display the options, as shown in the figure below.
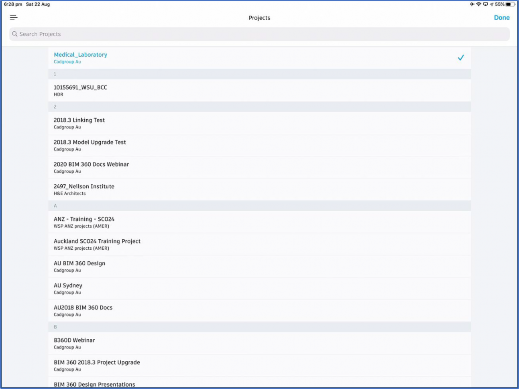
- Tap on the project listed under the Projects area to go back to the Projects page, as shown in the figure below.
- Tap on any other project name to activate it.


