Create Issues using the BIM 360 Mobile App – Practice Exercise
Task 1: Creating Issues in the Revit 3D View
- Navigate to the Project Files > MEP folder, tap on the Revit model to open it.
- Open the 3D Mechanical view.
- Navigate to the area shown in the following image:
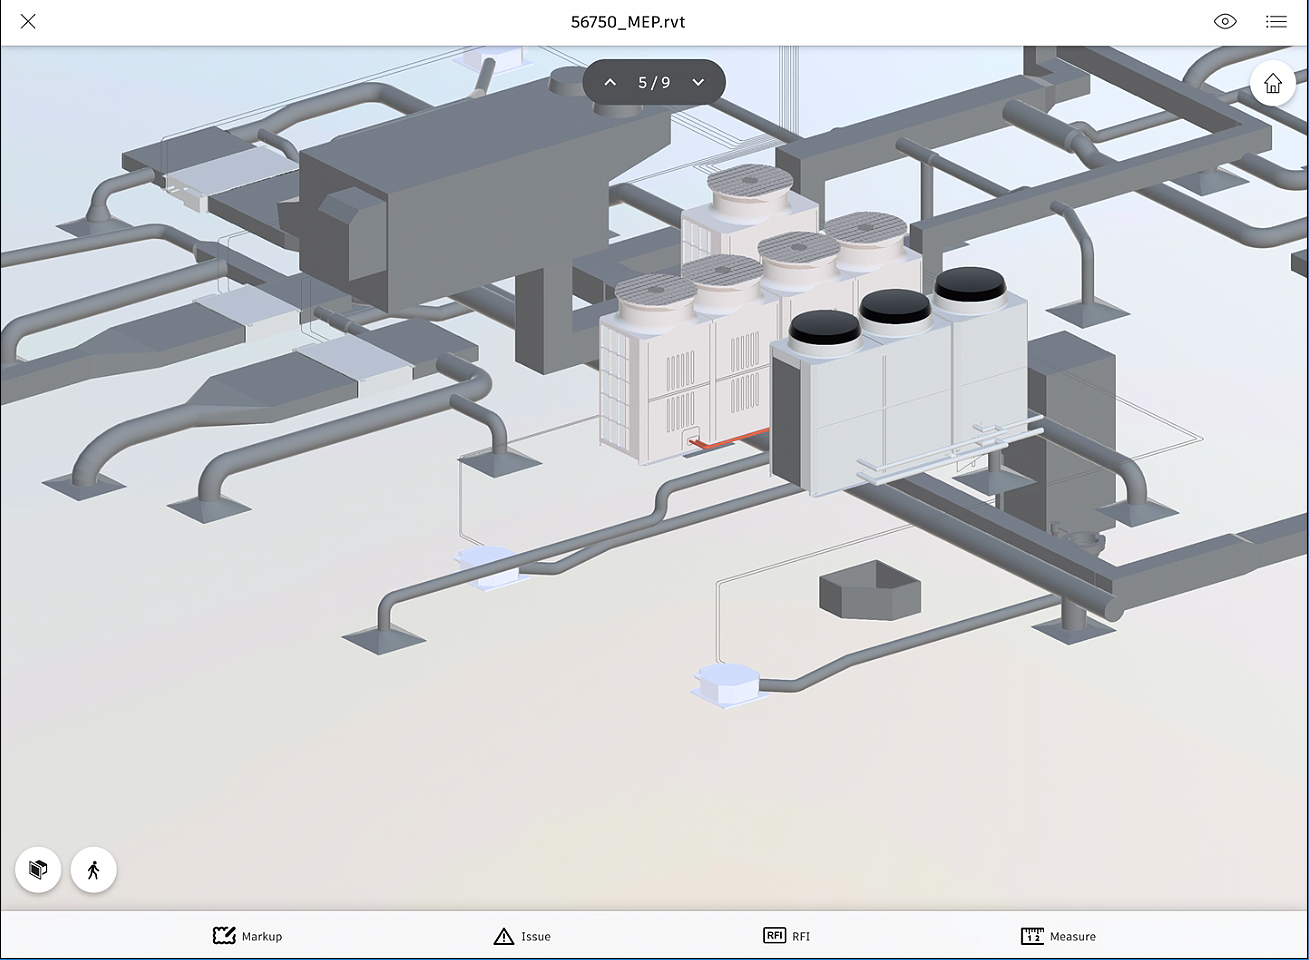
- From the bottom toolbar, tap on Issue; you are prompted to tap to place a new issue.
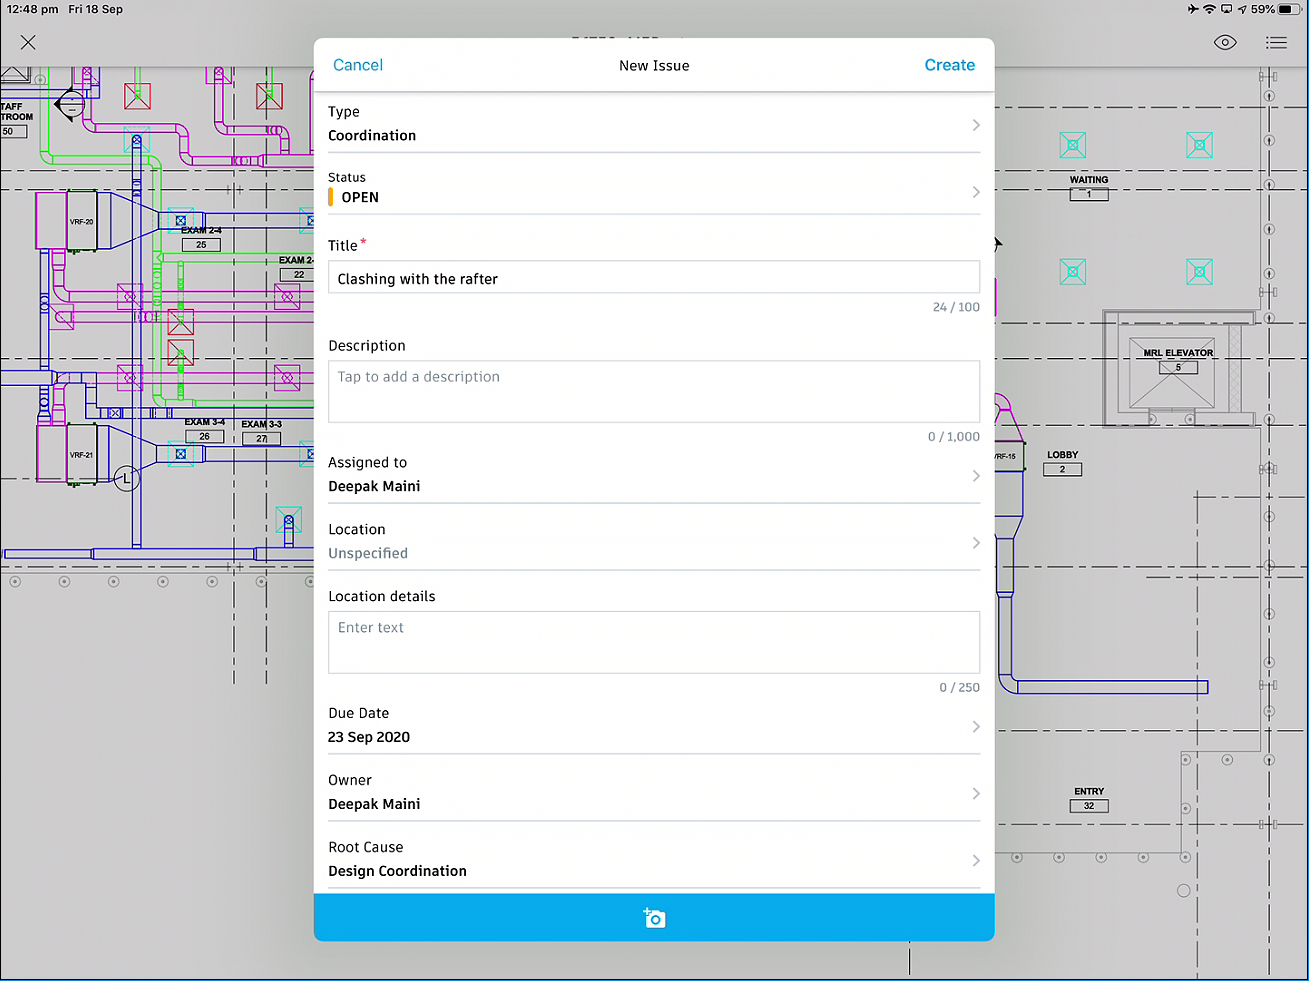
- Tap on any of the elements to place the issue pin; the pin is placed and the New Issue window is opened, as shown in the following figure:
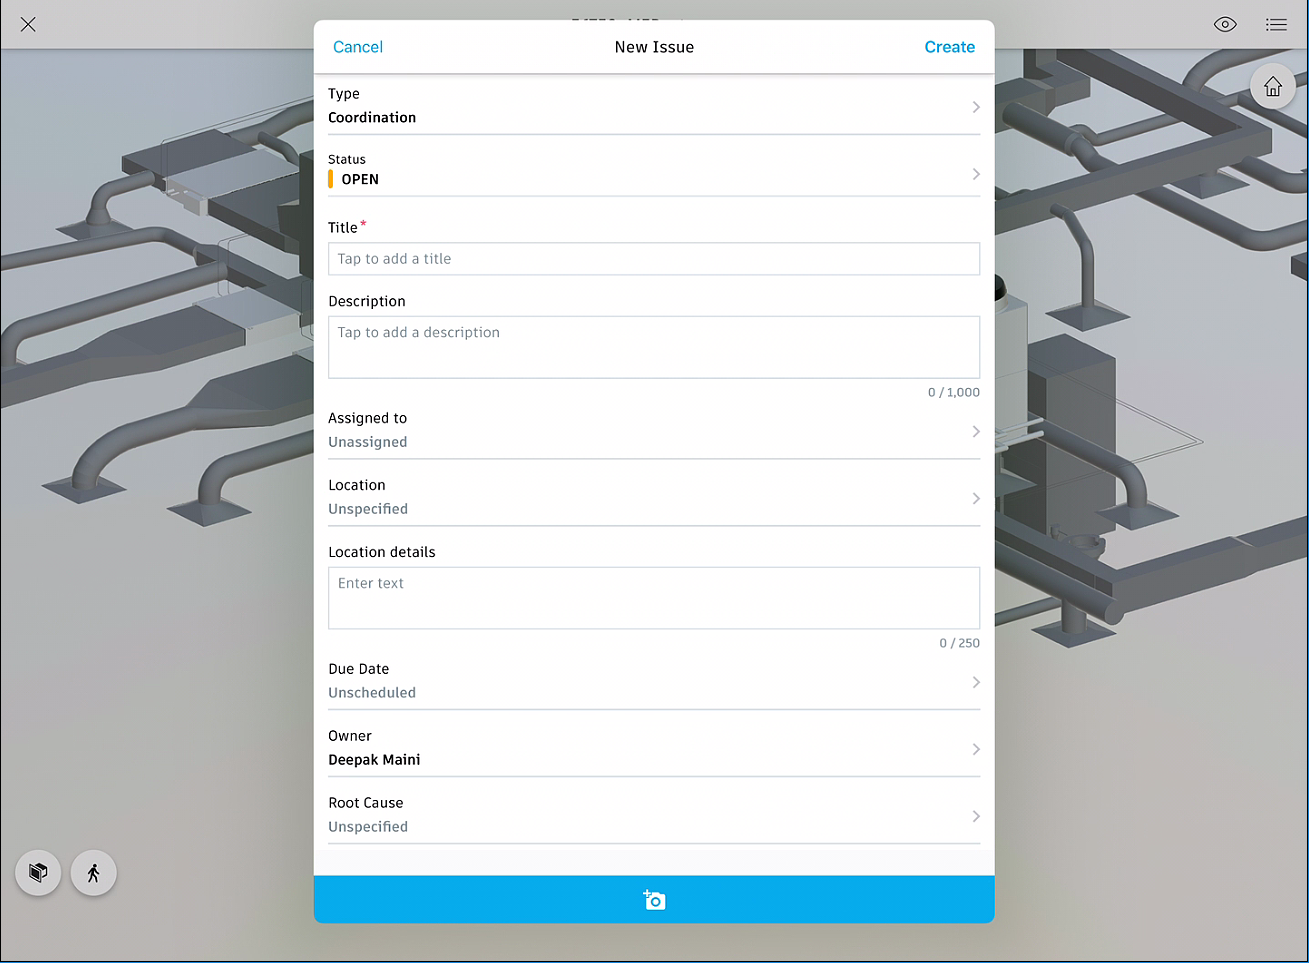
- From the Type list at the top, select the type of issue.
- Enter the remaining details of the issue in this window.
- From the Root Cause list, make sure you select the relevant root cause.
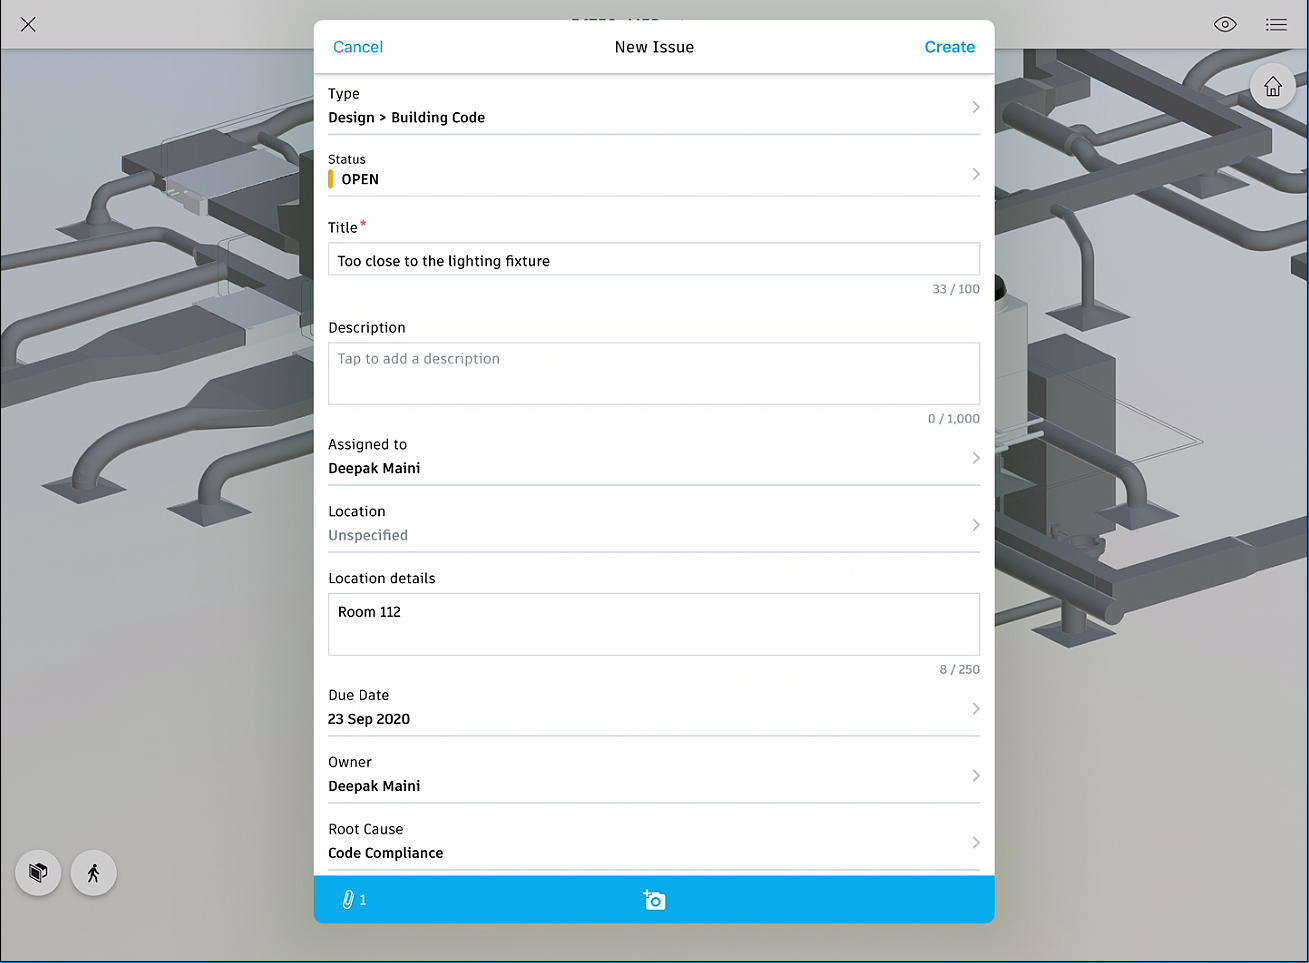
- Tap on the camera button at the bottom of the window and take a photograph of the issue.
- Tap Done and attach the photo to the issue. The following image shows the issue detailed defined in the New Issue window.
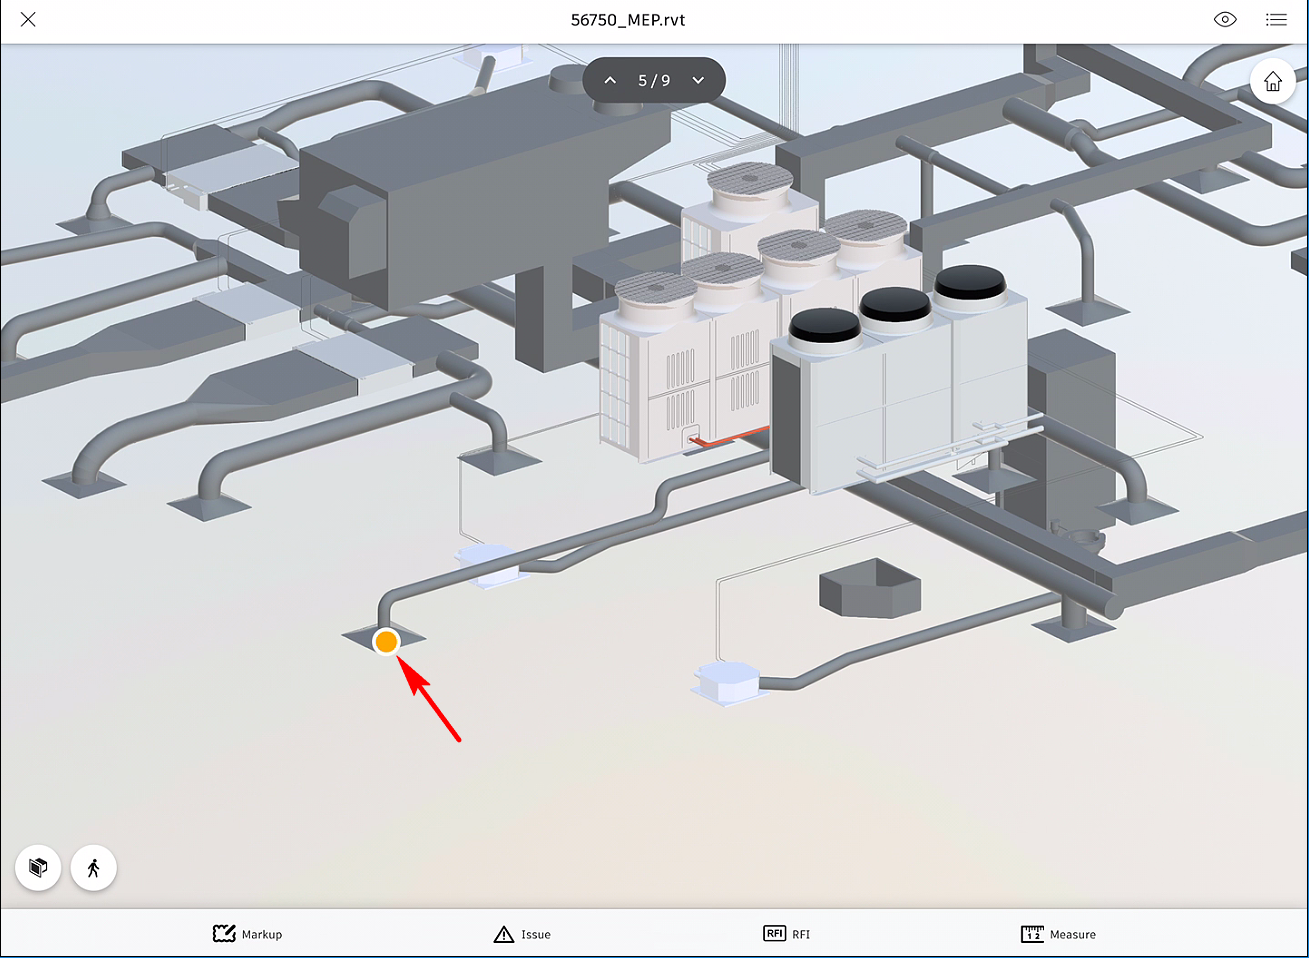
From the top right of the New Issue window, tap Create; the new issue is created and the pin is displayed in the model, as shown in the following figure:
- Similarly, navigate to the other areas of the model and create additional issues.
Task 2: Creating Issues in the Revit 3D View
- In the same model, activate the Ground Floor HVAC Plan sheet.
- Navigate to the area of the sheet where you want to create the issue, refer to the following figure.
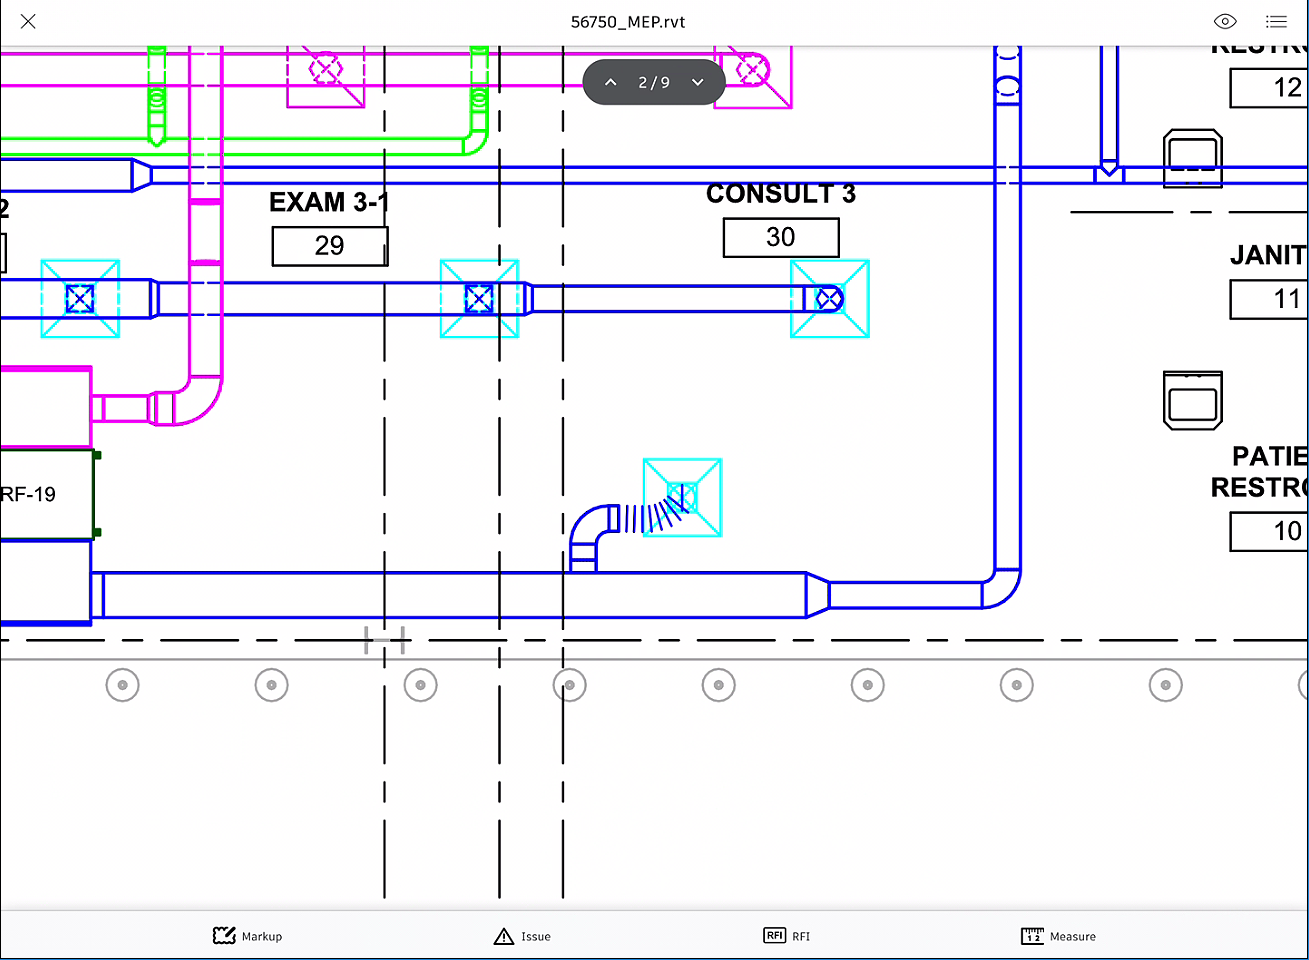
- Tap on Issue from the bottom toolbar.
- Tap to place the pin and then enter the details of the issue in the New Issue window, as shown in the figure below
- Tap Create on the top right of the New Issue window to create the new issue.
Task 3: Controlling the Visibility of the Issue Pins in the View
- From the top right in the app window, tap on the
 icon.
icon.
- Tap on the button on the right of the Issues option, as shown below, to turn off the visibility of the issues pin in the view.
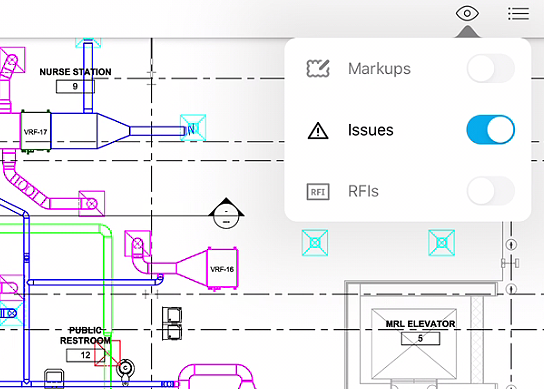
- Similarly, tap on it again to turn on the visibility of the pin.
Task 4: Reviewing the Issues in the Issue Panel
- Close out of the model and return to the Documents window, as shown in the following figure.
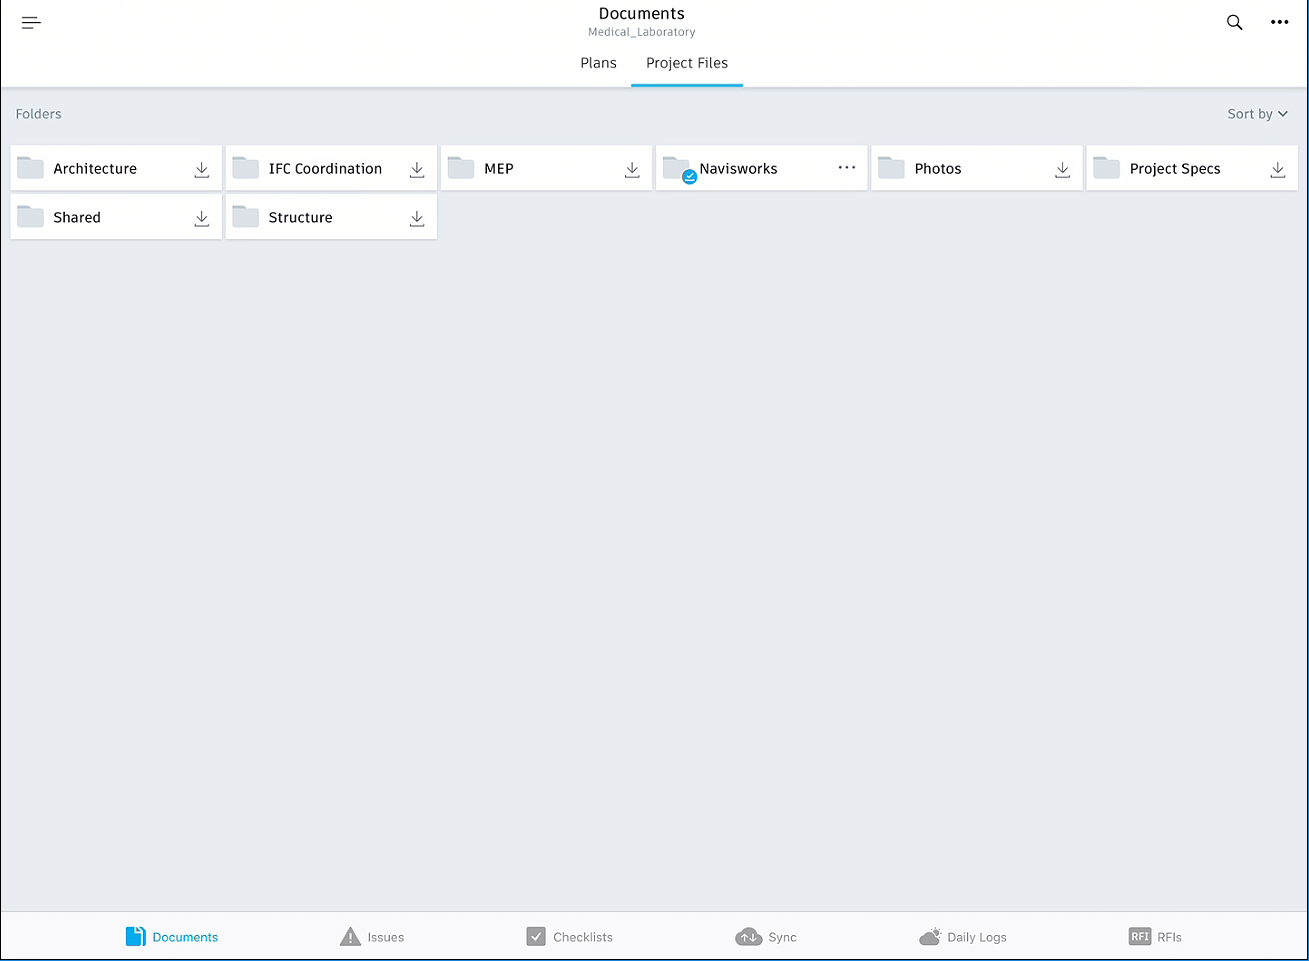
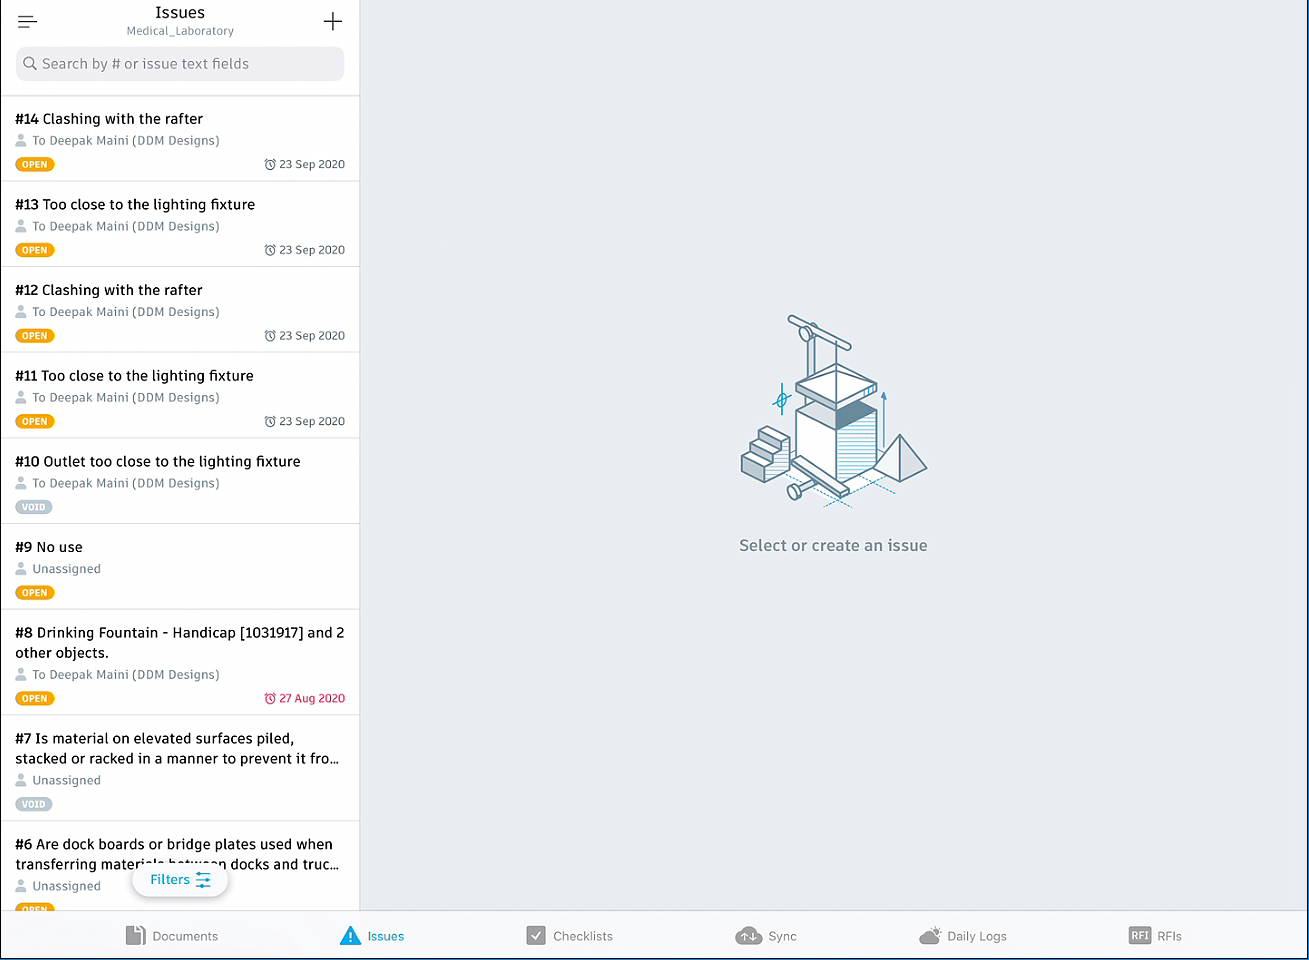
From the bottom toolbar, tap on Issues; the Issues panel is displayed, as shown in the following figure.
Tap on any of the issues you created to open that issue in a separate window, as shown in the following figure.
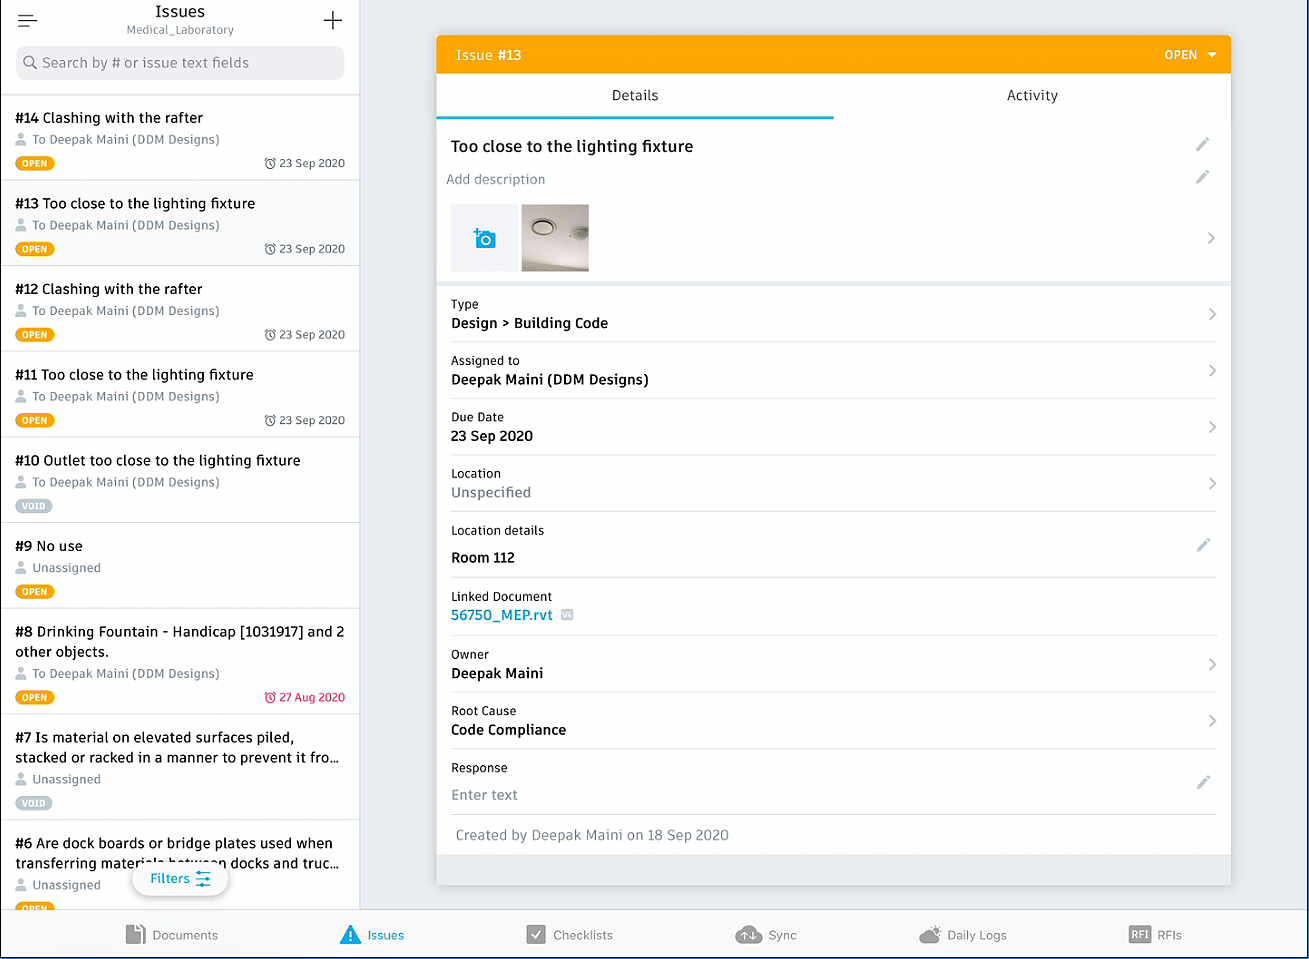
Tap on the linked document to open that issue in that document, refer to the following figure.

- Review the issue.
- Close out of the document.
- Similarly, review other issues from the Issues panel.


