00:00
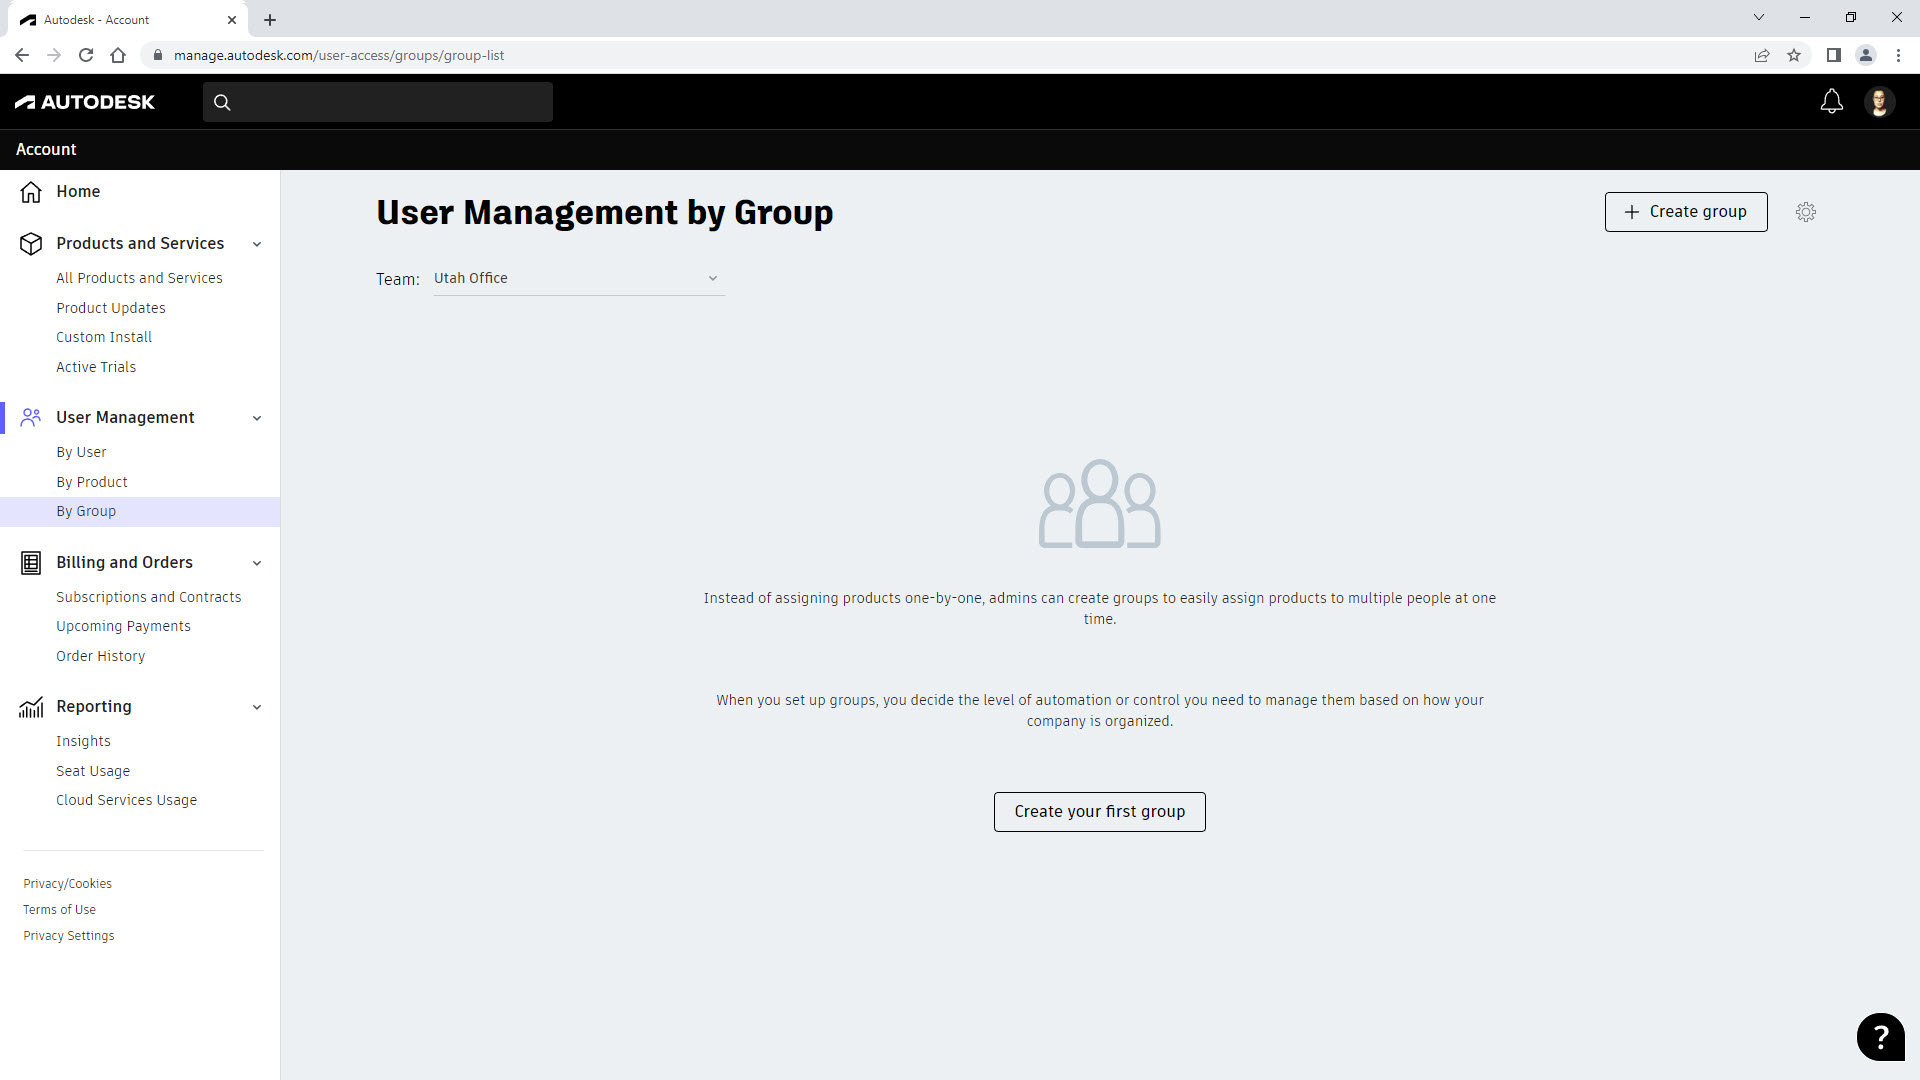
Groups allows admins to organize and assign products to multiple users at one time based on their role or discipline.
00:09
Instead of assigning your users to products one by one,
00:13
you can organize them into groups to manage them so that each group is assigned access to the same products.
00:20
To create a group, click on "BY GROUP" in the "USER MANAGEMENT" section, verify the correct team displays.
00:28
In this scenario, I know that the group needs the architecture, engineering, and construction collection and that it's already assigned to the team.
00:37
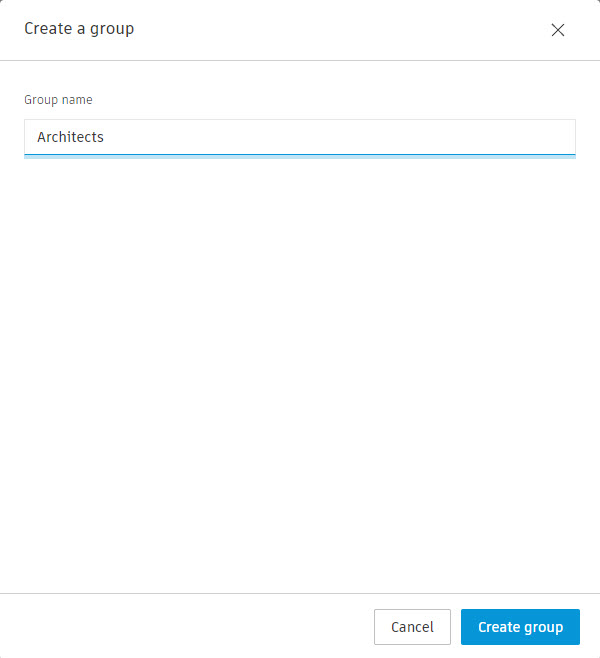
Click "CREATE GROUP". In the "CREATE A GROUP" dialogue box, type a group name and click "CREATE GROUP".
00:44
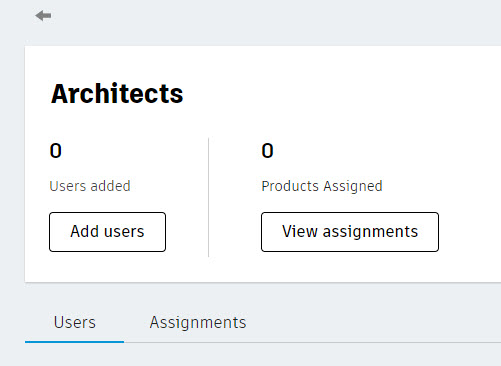
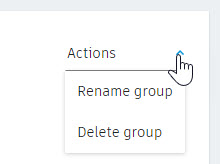
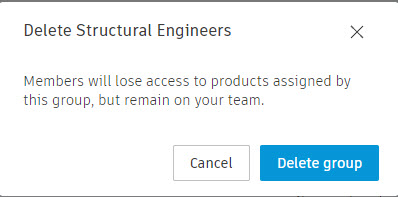
You can expand "ACTIONS" and either "RENAME" or "DELETE" the group if needed.
00:49
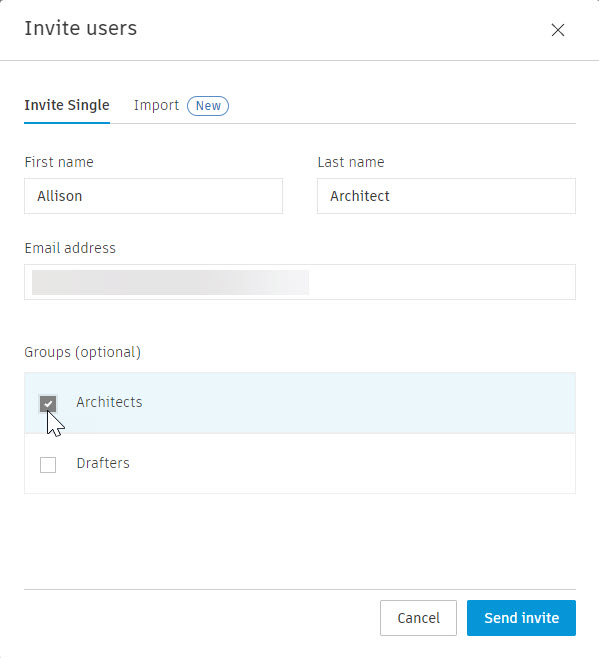
This can be done at any time and as needed. On the group page, click "ADD USERS".
00:56
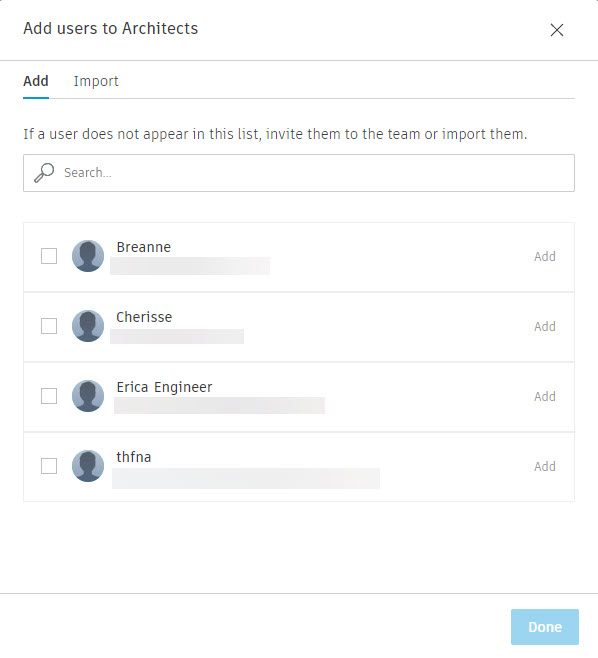
You can add users who have already been invited to the team or import a list of users using a spreadsheet. When finished, click "DONE".
01:06
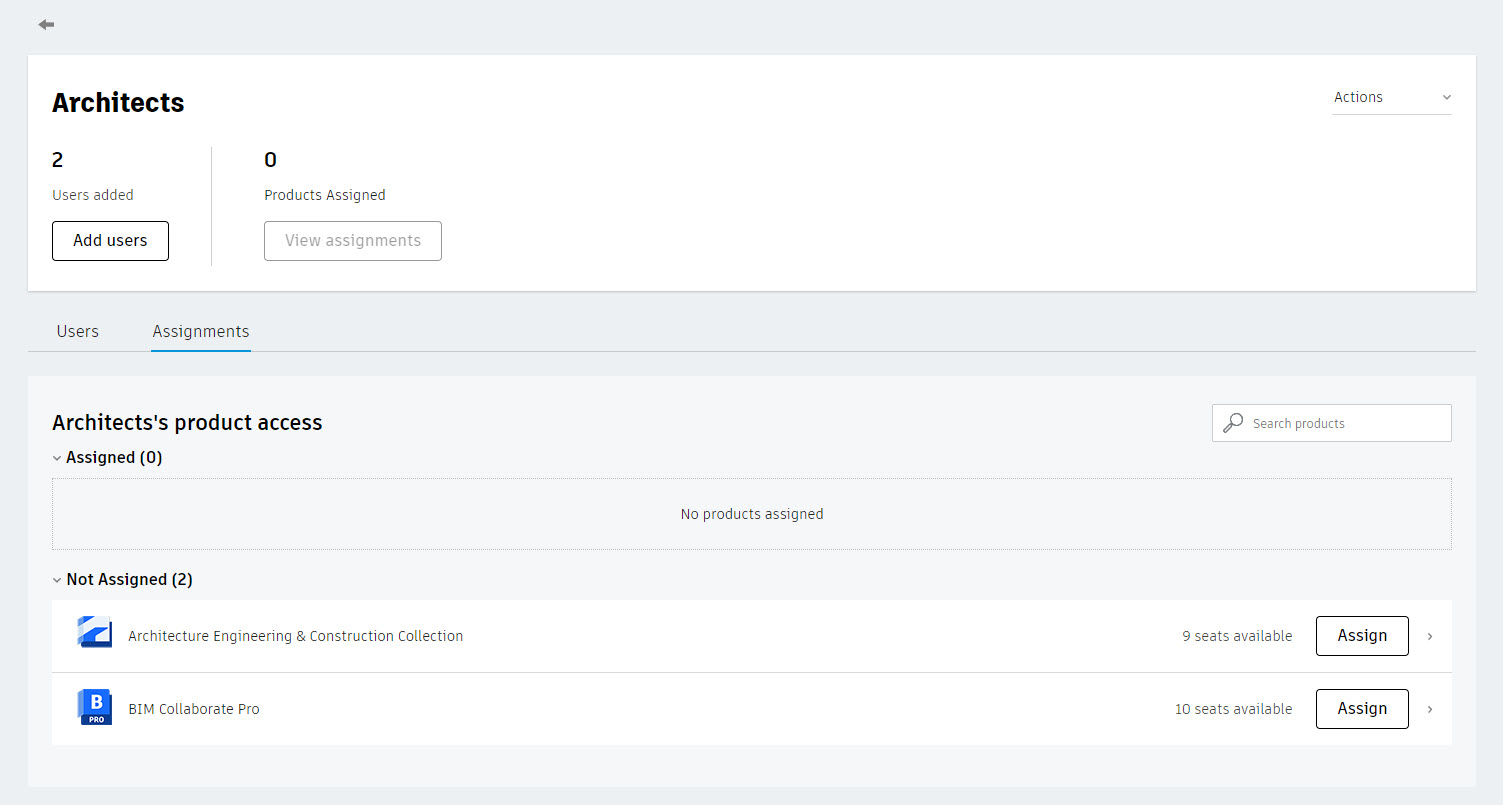
Now that you have your users added to the group, you can add a product. Click on either the "ASSIGNMENT" tab or "VIEW ASSIGNMENTS".
01:15
Note that these products have already been added via the team.
01:19
So, if there is a product missing, you will want to move the subscription to the correct team,
01:24
by going to the "BY USER" and modifying the team settings.
01:28
Click "ASSIGN" next to the product you want to assign to the group.
01:32
Note that if a group member has already been assigned to the same product, an extra seat is not assigned with the group.
01:39
Only one seat is consumed per user.
01:42
Now when you go to "BY PRODUCT" in the "USER MANAGEMENT" section and select the product you assigned to the group,
01:48
you will notice the users you added to the group displays.
01:53
The "UNASSIGN" for each of the users in the group are grayed out and you will see a "GROUP ICON" letting you know,
01:59
that this user has been assigned the product via a group.
02:03
To modify users assigned to products via groups, you will need to go back to "BY GROUPS" and modify the users and the products assigned.
02:11
Notice there is a user that was not a part of the group in this list.
02:15
This user was assigned to the product either through the "BY USER" or "BY PRODUCT" for this team.
02:22
Depending on the situation, the user may just need this collection or a software for a short period of time,
02:30
such as a temporary worker or a project manager.