& Construction

Integrated BIM tools, including Revit, AutoCAD, and Civil 3D
& Manufacturing

Professional CAD/CAM tools built on Inventor and AutoCAD

Integrated BIM tools, including Revit, AutoCAD, and Civil 3D

Professional CAD/CAM tools built on Inventor and AutoCAD
Transcript
00:03
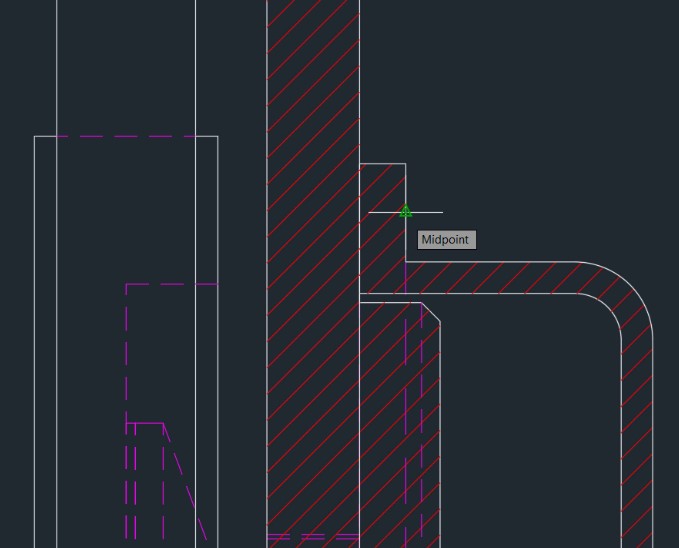
Let's place a bolted connection and the holes associated with the fastener into the design,
00:10
will generate projected views of the bolts without having to draw them,
00:14
and then add a spring in additional fasteners without having to use any cleanup tools for the geometry that's already in the drawing.
00:22
It's easy to find libraries of fasteners and even download specialized ones from the web.
00:27
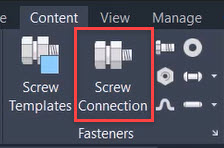
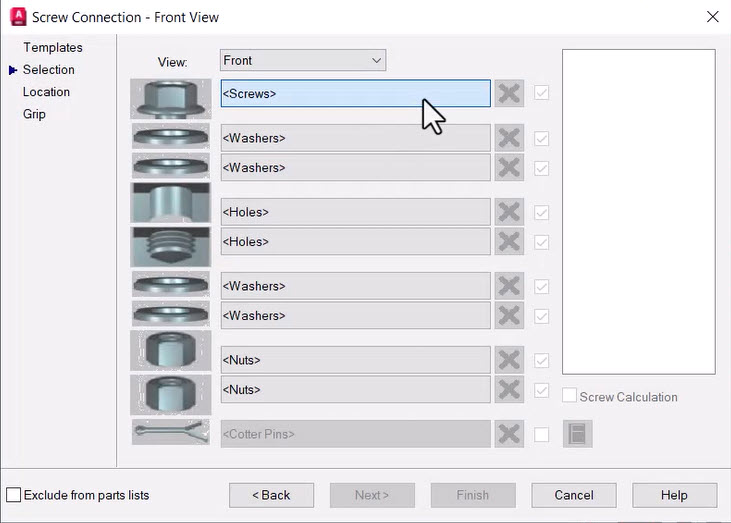
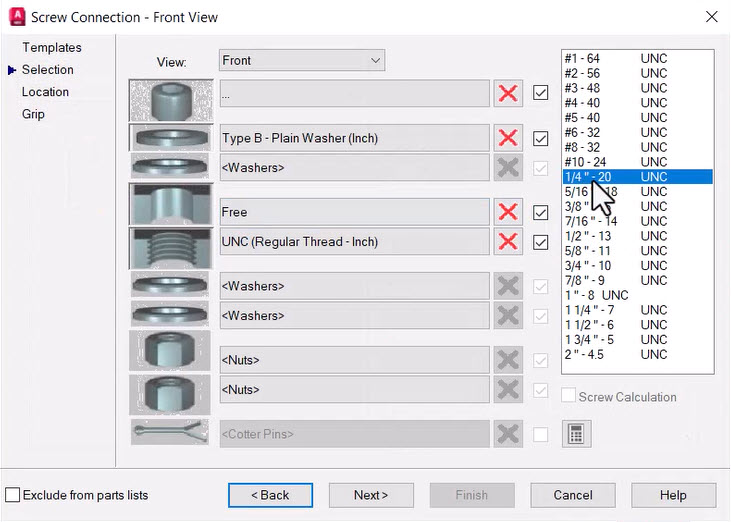
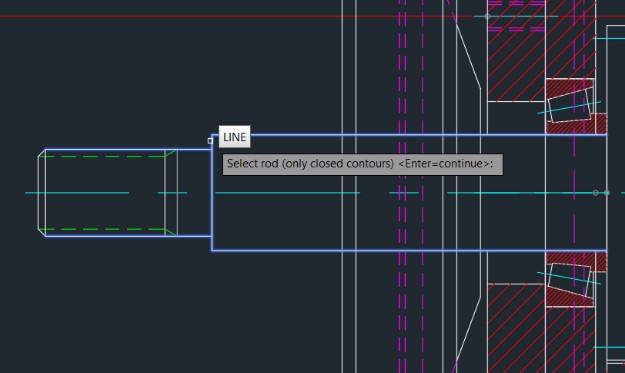
The Bolted Connection tool inside of AutoCAD mechanical allows you to select a series of fasteners,
00:33
whether they're bolts or screws, washers,
00:36
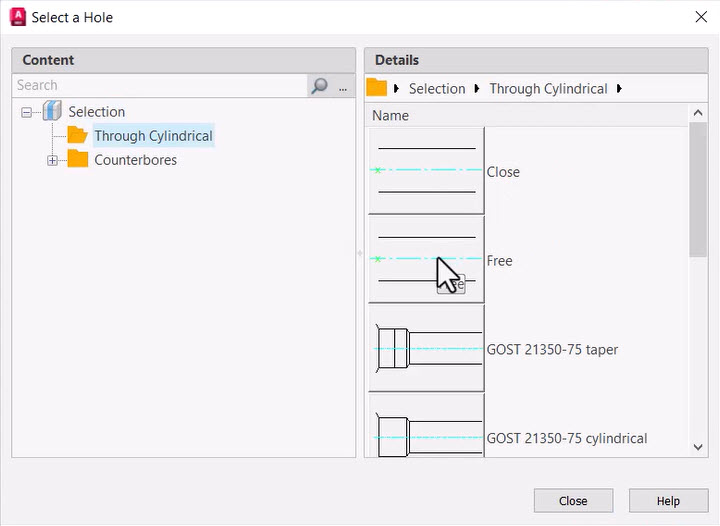
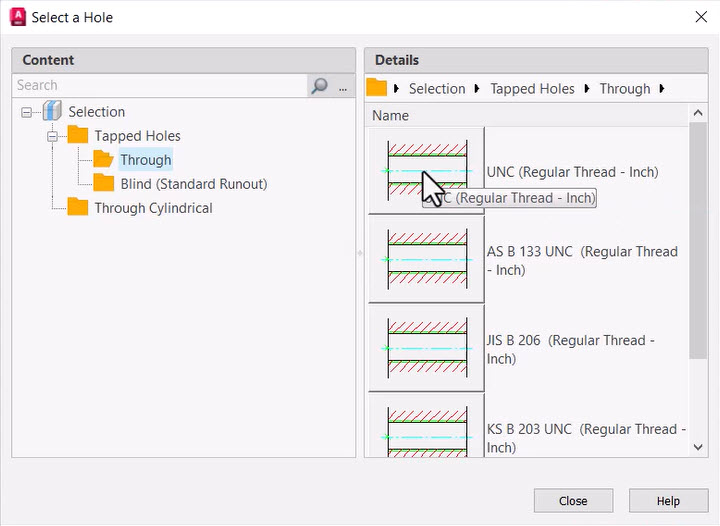
and then choose what type of holes they will pass through as they go through elements of the drawing.
00:43
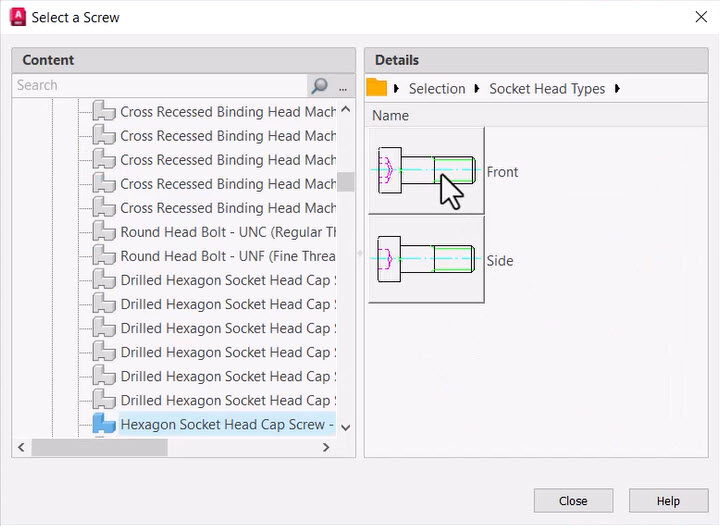
You have a broad selection of standards and within those standards, a broad selection of the individual fasteners to choose from.
01:04
Once you've selected the bolt stack, you can even save it to a library if you use that combination of fasteners frequently.
01:27
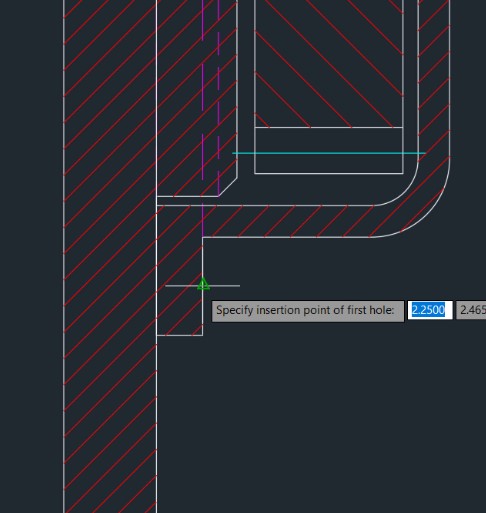
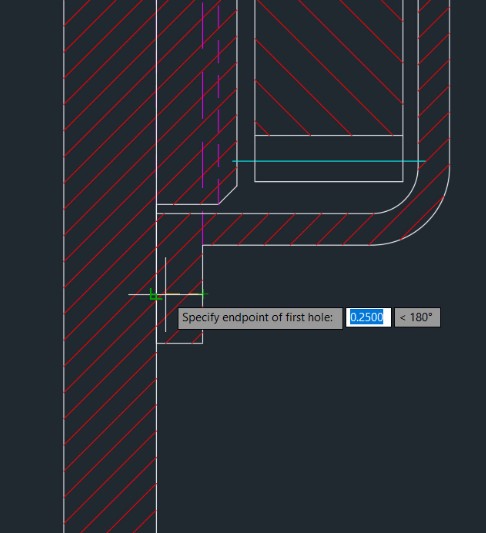
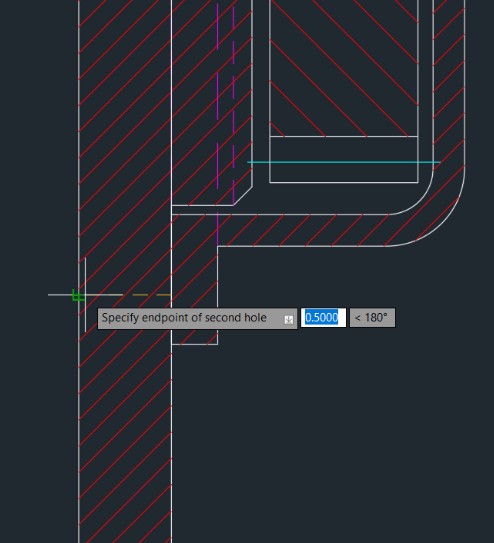
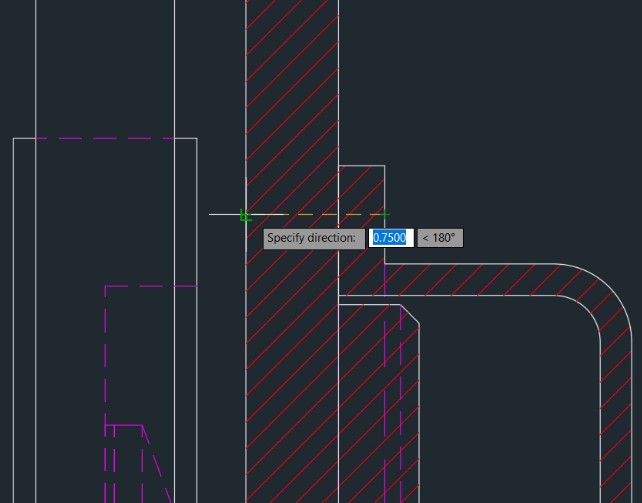
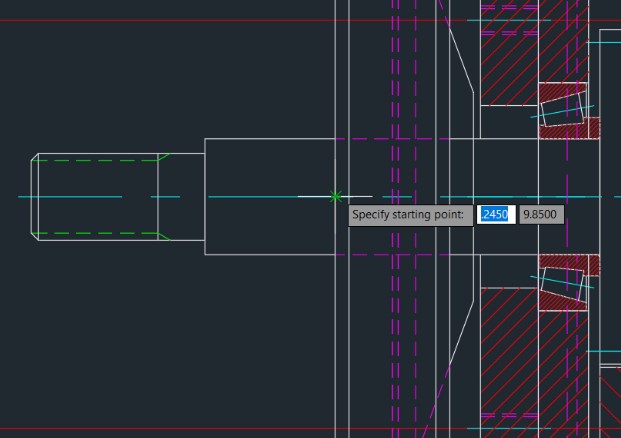
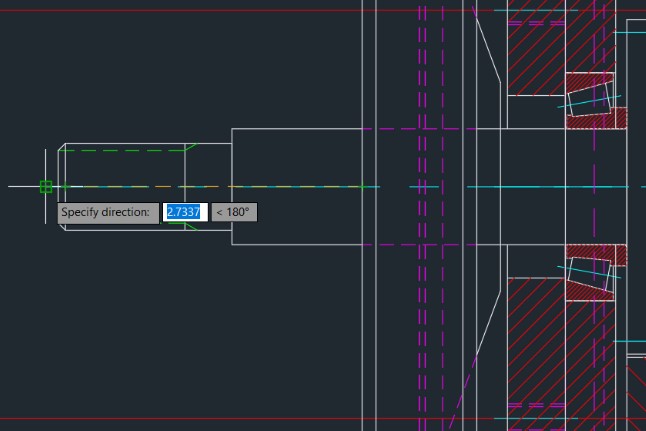
Then selecting the location, you want to place the fastener, you'll be choosing where the holes will pass through.
01:34
After setting the location values,
01:36
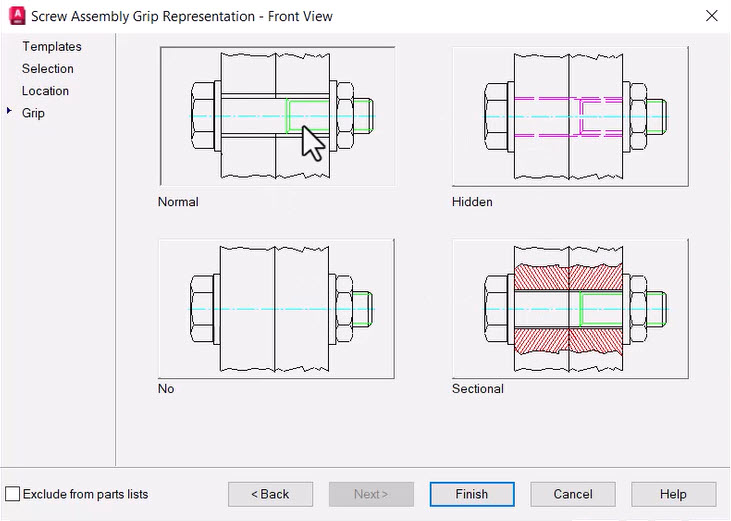
you choose how you want the Bolted Connection to appear and it will update the rest of the drawing to follow suit.
01:55
If you need more than one instance of this Bolted Connection,
01:58
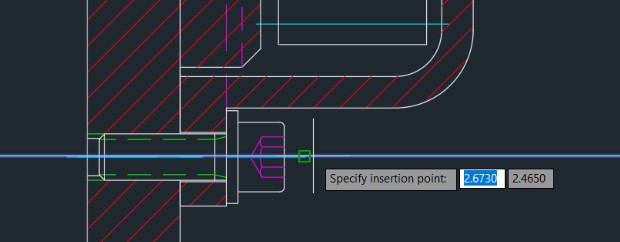
you can use the Power Copy tool to select the object,
02:03
and place another instance of it into the model without having to reselect all of the various options.
02:09
Simply place it and it takes care of all the cleanup for you.
02:41
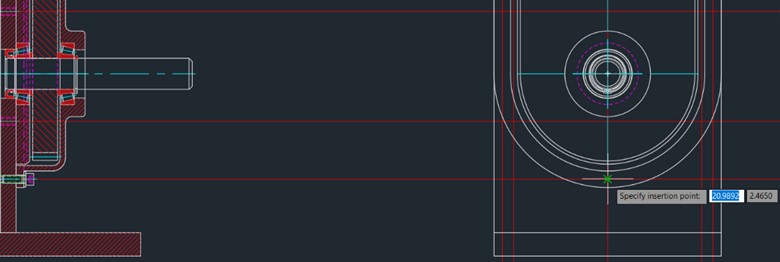
Now that we have one set of Bolted Connections, let's go ahead and place a Power View of the Bolted Connection.
02:48
A Power View allows you to generate an alternate view of the connection.
02:52
So we'll put a top view of the bolt in place.
02:55
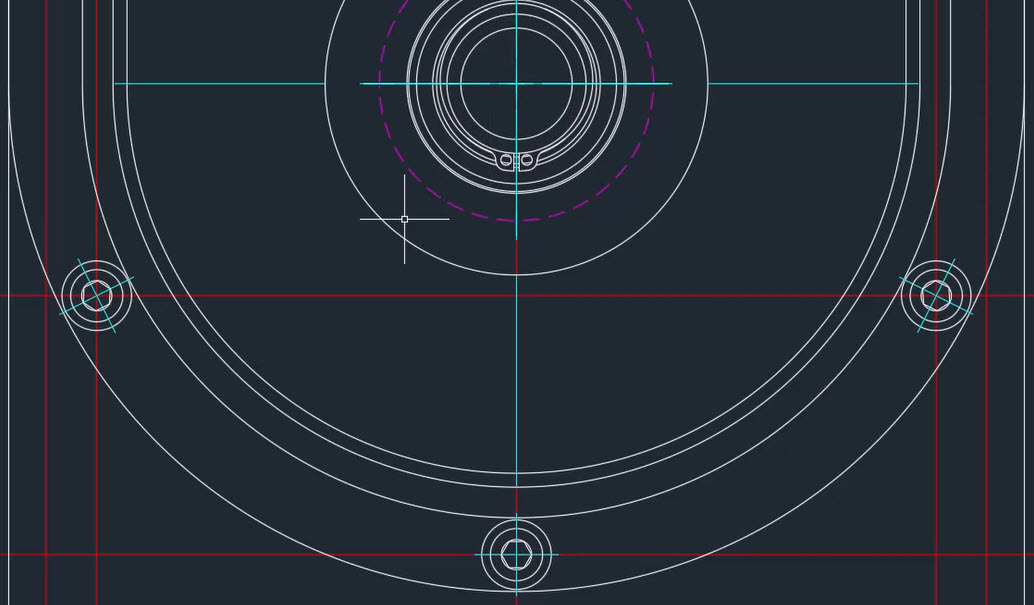
Then we'll use Power Copy again to replicate that.
03:11
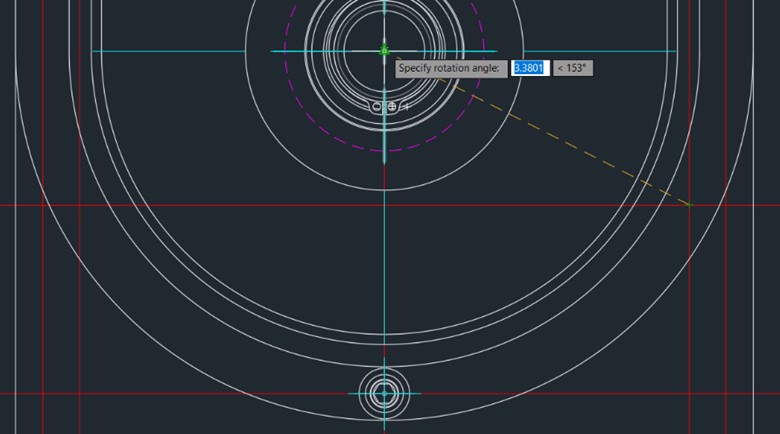
Including the ability to follow standard drafting practice and orient the new Bolted Connection around the axis.
03:27
There are many other types of standard hardware built into AutoCAD Mechanical as well.
03:33
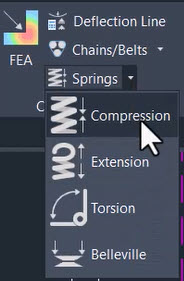
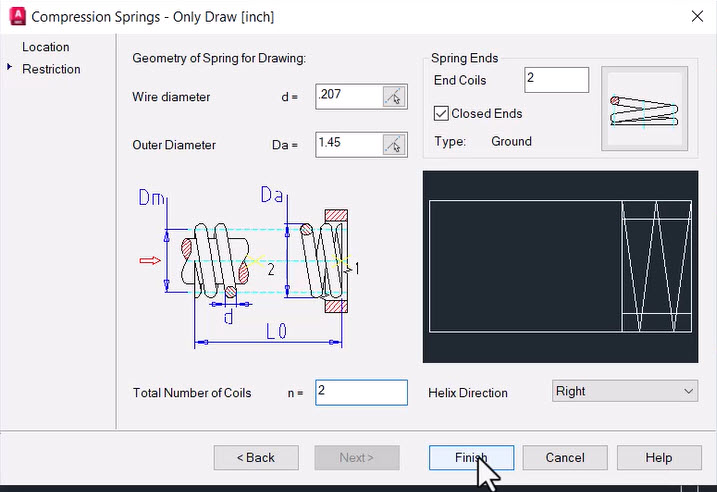
For example, you can place many types of springs.
03:36
You can calculate the spring.
03:38
You can use standard predefined springs from catalogs, or you can generate your own type of spring,
03:45
or you just simply need to represent the spring on the screen.
04:04
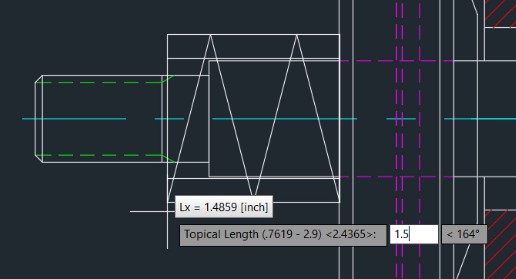
You choose the style you want, set the size attributes,
04:19
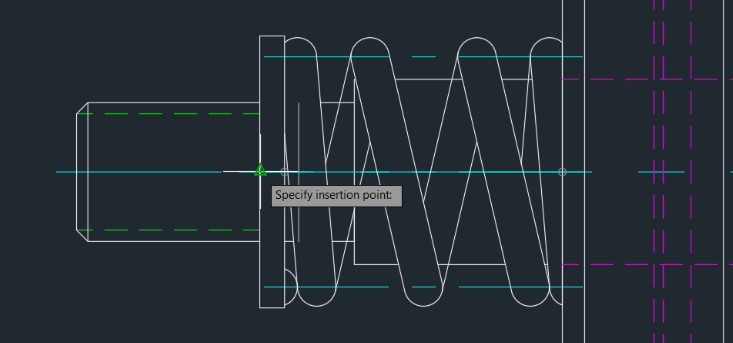
and place it into the drawing with automatic cleanup of any of the entities that spring would be wrapped around.
04:43
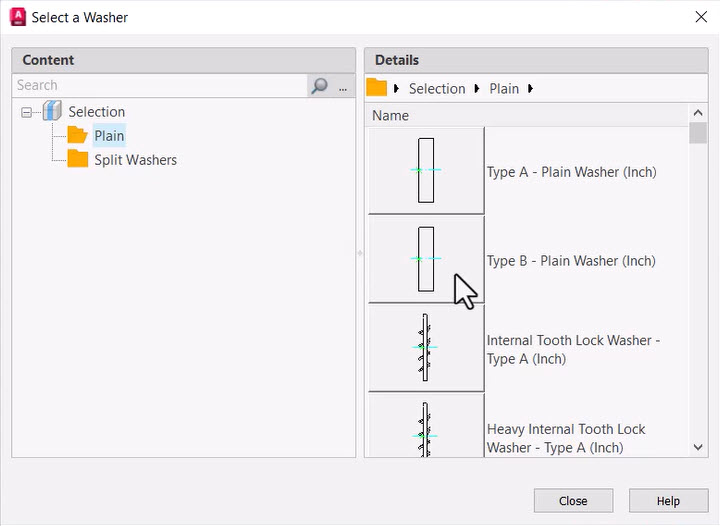
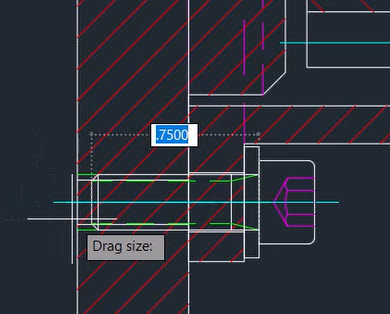
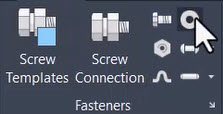
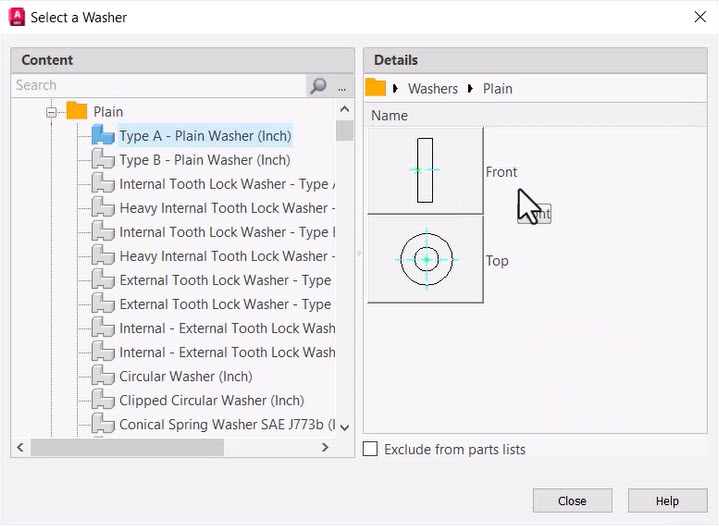
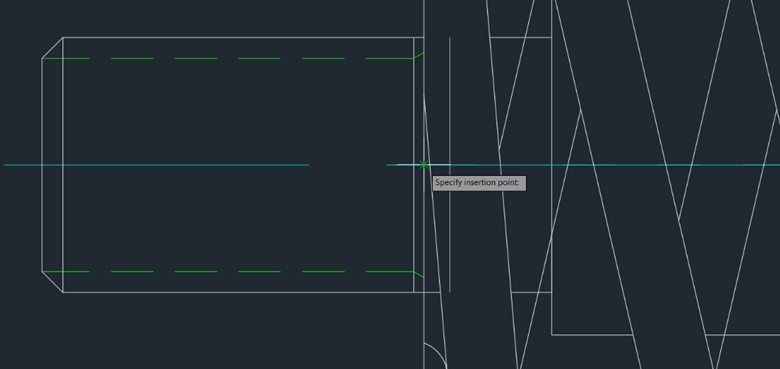
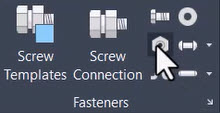
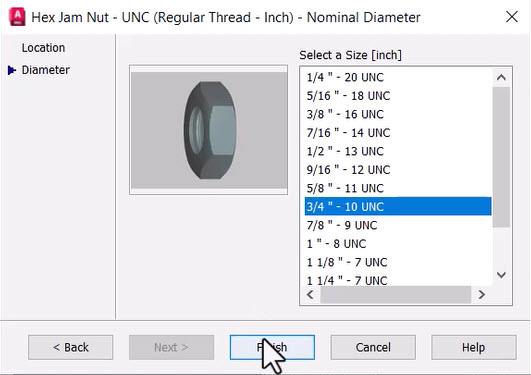
Once the spring is in place, you can go back to the Libraries and Select a Washer, choosing standard size options.
05:24
And place a Nut to retain it all.
05:28
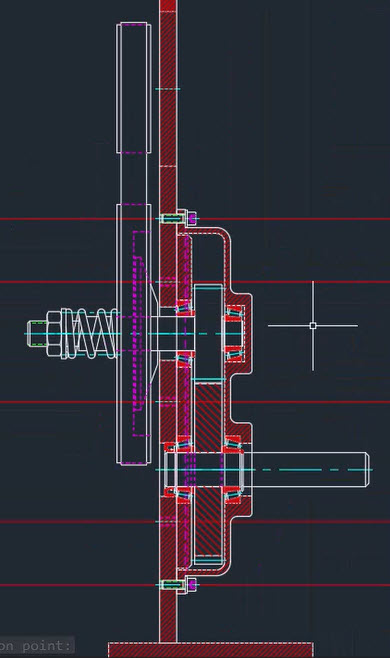
And once again, all of this is done without having to do any cleanup of objects that were already in the drawing.
05:49
And having the intelligence built into AutoCAD Mechanical to understand that these are not just lines and arcs,
05:54
they are real objects that have relationships to one another.
Video transcript
00:03
Let's place a bolted connection and the holes associated with the fastener into the design,
00:10
will generate projected views of the bolts without having to draw them,
00:14
and then add a spring in additional fasteners without having to use any cleanup tools for the geometry that's already in the drawing.
00:22
It's easy to find libraries of fasteners and even download specialized ones from the web.
00:27
The Bolted Connection tool inside of AutoCAD mechanical allows you to select a series of fasteners,
00:33
whether they're bolts or screws, washers,
00:36
and then choose what type of holes they will pass through as they go through elements of the drawing.
00:43
You have a broad selection of standards and within those standards, a broad selection of the individual fasteners to choose from.
01:04
Once you've selected the bolt stack, you can even save it to a library if you use that combination of fasteners frequently.
01:27
Then selecting the location, you want to place the fastener, you'll be choosing where the holes will pass through.
01:34
After setting the location values,
01:36
you choose how you want the Bolted Connection to appear and it will update the rest of the drawing to follow suit.
01:55
If you need more than one instance of this Bolted Connection,
01:58
you can use the Power Copy tool to select the object,
02:03
and place another instance of it into the model without having to reselect all of the various options.
02:09
Simply place it and it takes care of all the cleanup for you.
02:41
Now that we have one set of Bolted Connections, let's go ahead and place a Power View of the Bolted Connection.
02:48
A Power View allows you to generate an alternate view of the connection.
02:52
So we'll put a top view of the bolt in place.
02:55
Then we'll use Power Copy again to replicate that.
03:11
Including the ability to follow standard drafting practice and orient the new Bolted Connection around the axis.
03:27
There are many other types of standard hardware built into AutoCAD Mechanical as well.
03:33
For example, you can place many types of springs.
03:36
You can calculate the spring.
03:38
You can use standard predefined springs from catalogs, or you can generate your own type of spring,
03:45
or you just simply need to represent the spring on the screen.
04:04
You choose the style you want, set the size attributes,
04:19
and place it into the drawing with automatic cleanup of any of the entities that spring would be wrapped around.
04:43
Once the spring is in place, you can go back to the Libraries and Select a Washer, choosing standard size options.
05:24
And place a Nut to retain it all.
05:28
And once again, all of this is done without having to do any cleanup of objects that were already in the drawing.
05:49
And having the intelligence built into AutoCAD Mechanical to understand that these are not just lines and arcs,
05:54
they are real objects that have relationships to one another.
How to buy
Privacy | Do not sell or share my personal information | Cookie preferences | Report noncompliance | Terms of use | Legal | © 2025 Autodesk Inc. All rights reserved
Sign in to start learning
Sign in for unlimited free access to all learning content.Save your progress
Take assessments
Receive personalized recommendations
May we collect and use your data?
Learn more about the Third Party Services we use and our Privacy Statement.May we collect and use your data to tailor your experience?
Explore the benefits of a customized experience by managing your privacy settings for this site or visit our Privacy Statement to learn more about your options.